As a freelance recipe developer and food photographer, I work with a number of food brands and restaurants to create recipes or photography to promote their brand or business. Largely, I keep Chew Town separate to my food photography business because I like to try keep this as an unsponsored space so I can cook and write about what I like without the added pressure of monetising. This is also the reason why you won’t see ads on Chew Town.
Queen Fine Foods has been a long term client of mine for many years and I absolutely love working with them. They have an incredible suite of products and are always coming up with new products that I love to be able to try before anyone else (a perk of the job). They have an in house recipe developer, so I often work with them on recipes that they have tested that I just need to cook and shoot for their website and socials.
It often means that I don’t get to create new recipes using their products because it is already done for me. So, a few months ago when I got sent their new Fabulous Flamingo sprinkles and Flamingo Fantasy flavour for icing (tastes like musk sticks) to shoot some new recipes they had developed, I knew instantly that I’d have to create this incredible Flamingo Cake for Chew Town. I mean, would you just look at how cute the sprinkles are? There are actual tiny white and pink flamingos in there!
Look, I know this seems like an insane cake that took forever to achieve, but I want to let you know that you can 100% make this easier for yourself by not making the cake from scratch. No-one will judge you (well, I certainly won’t).
I did bake this cake myself, but I used a really great white chocolate mud cake mix from a local cake decorating shop which required a couple of ingredients and some white chocolate. I can also highly recommend the Betty Crocker chocolate fudge cake, or Betty Crocker vanilla packet cakes from the supermarket. They are great and taste delicious. Better yet, if I know I’m going to be baking a multi tier cake for a wedding or birthday party, then I will actually order a pre-baked cake from Mondo Cakes here in Sydney, then all I have to do it layer, ice and decorate.
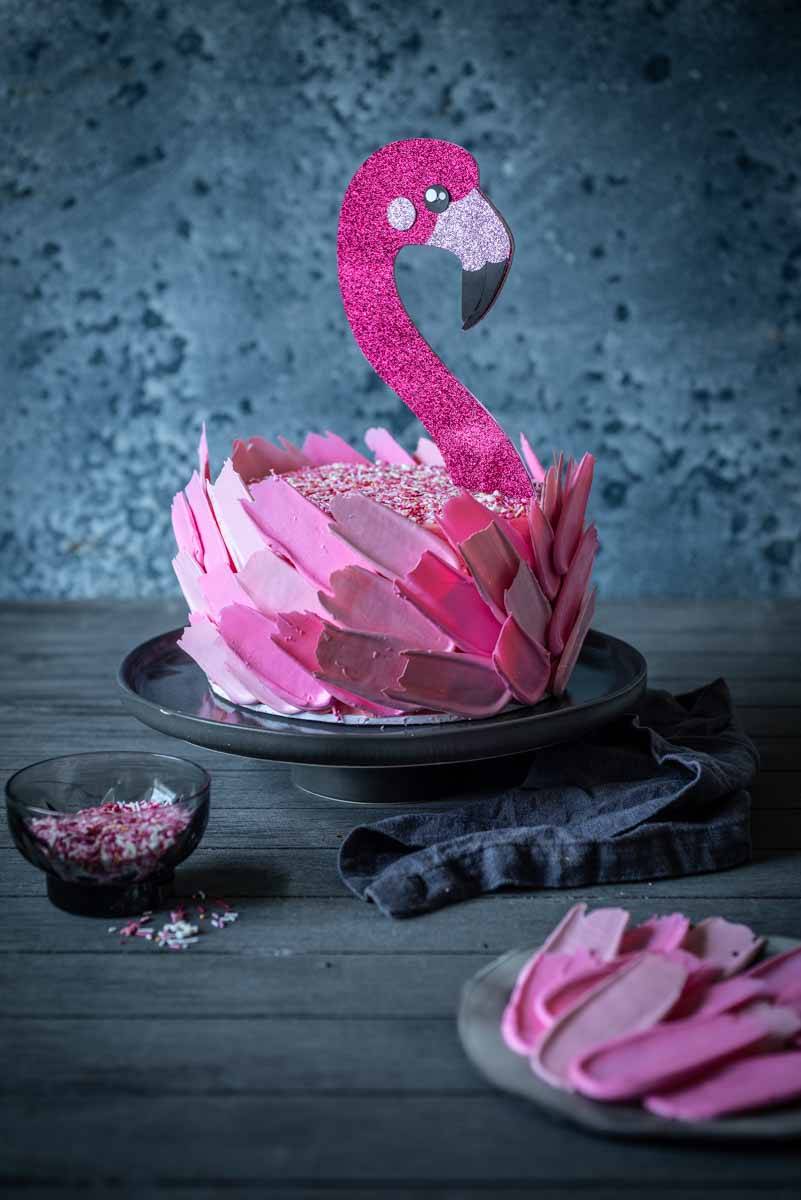
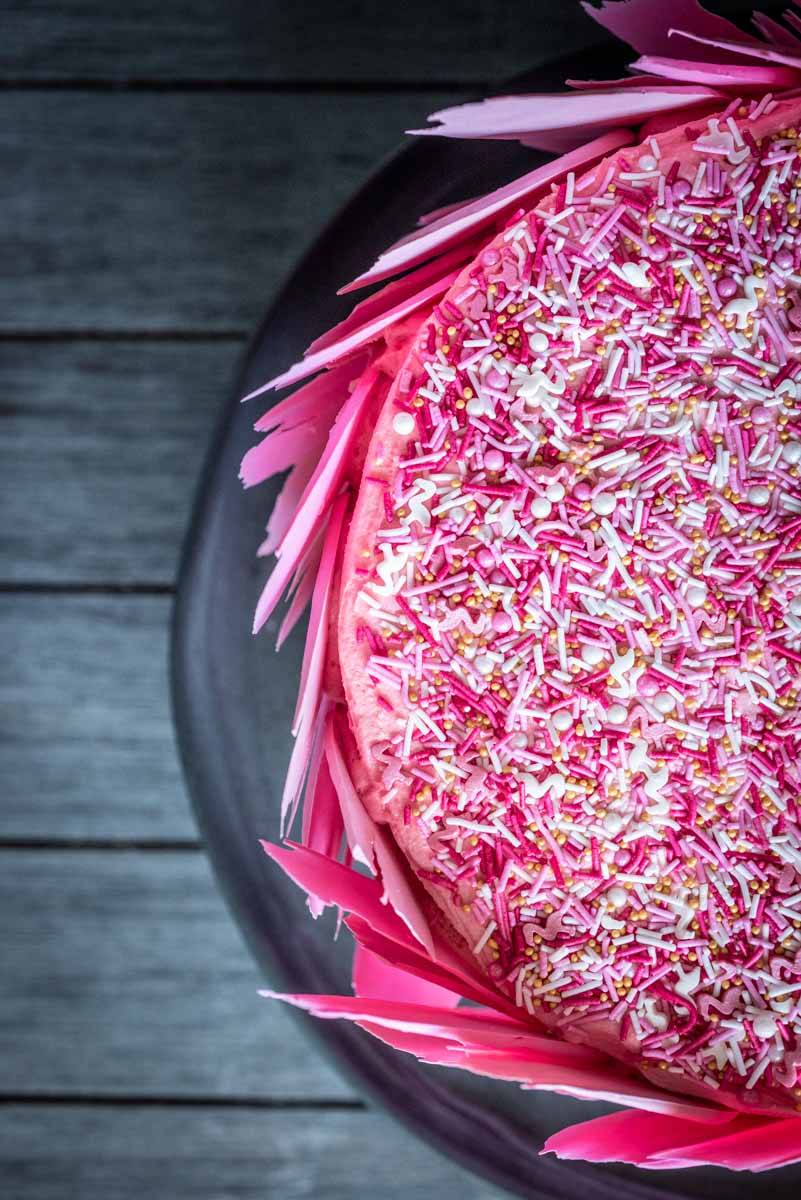
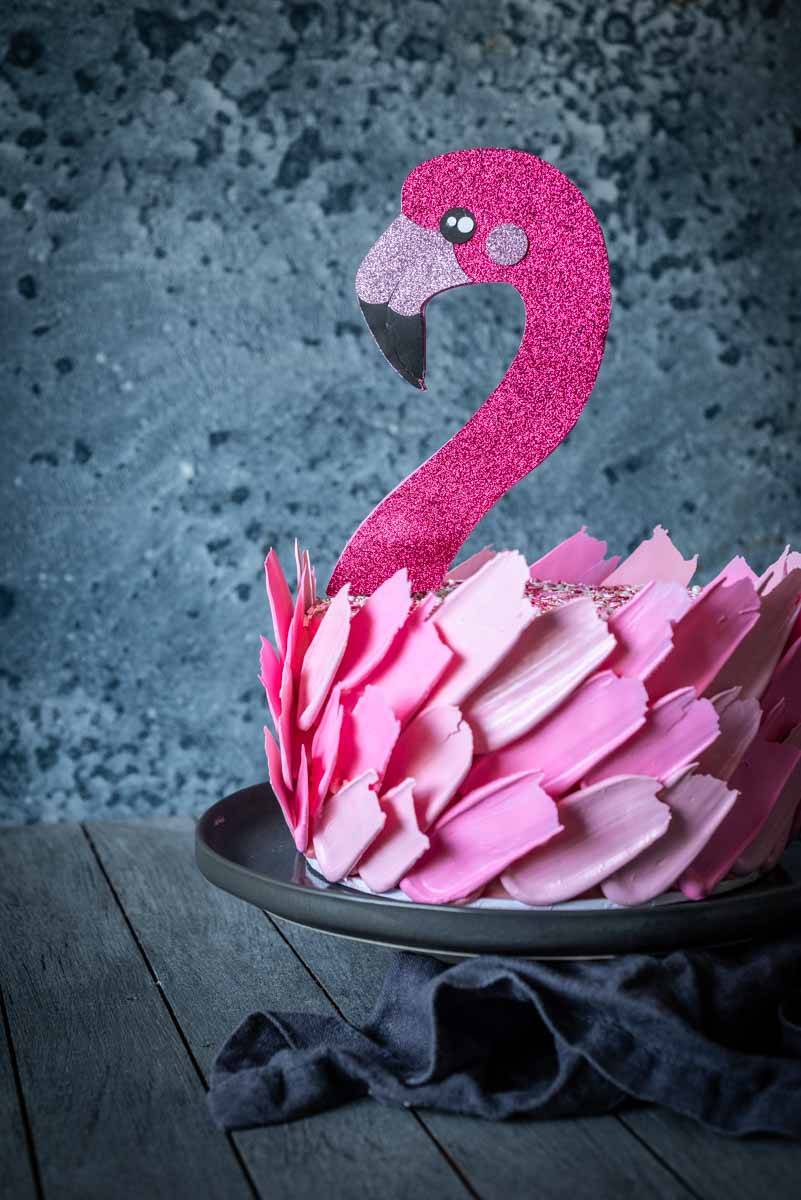
So, how is this cake built? Well, I’ll outline the details in the recipe below, but there is a white chocolate mud base cake which is sandwiched and covered with pink buttercream icing. That icing is flavoured with the Queen Flamingo Fantasy flavour for icing which tastes like musk lollies (my all time favourite flavour). The top of the cake is then covered with the Queen Fabulous Flamingo sprinkles.
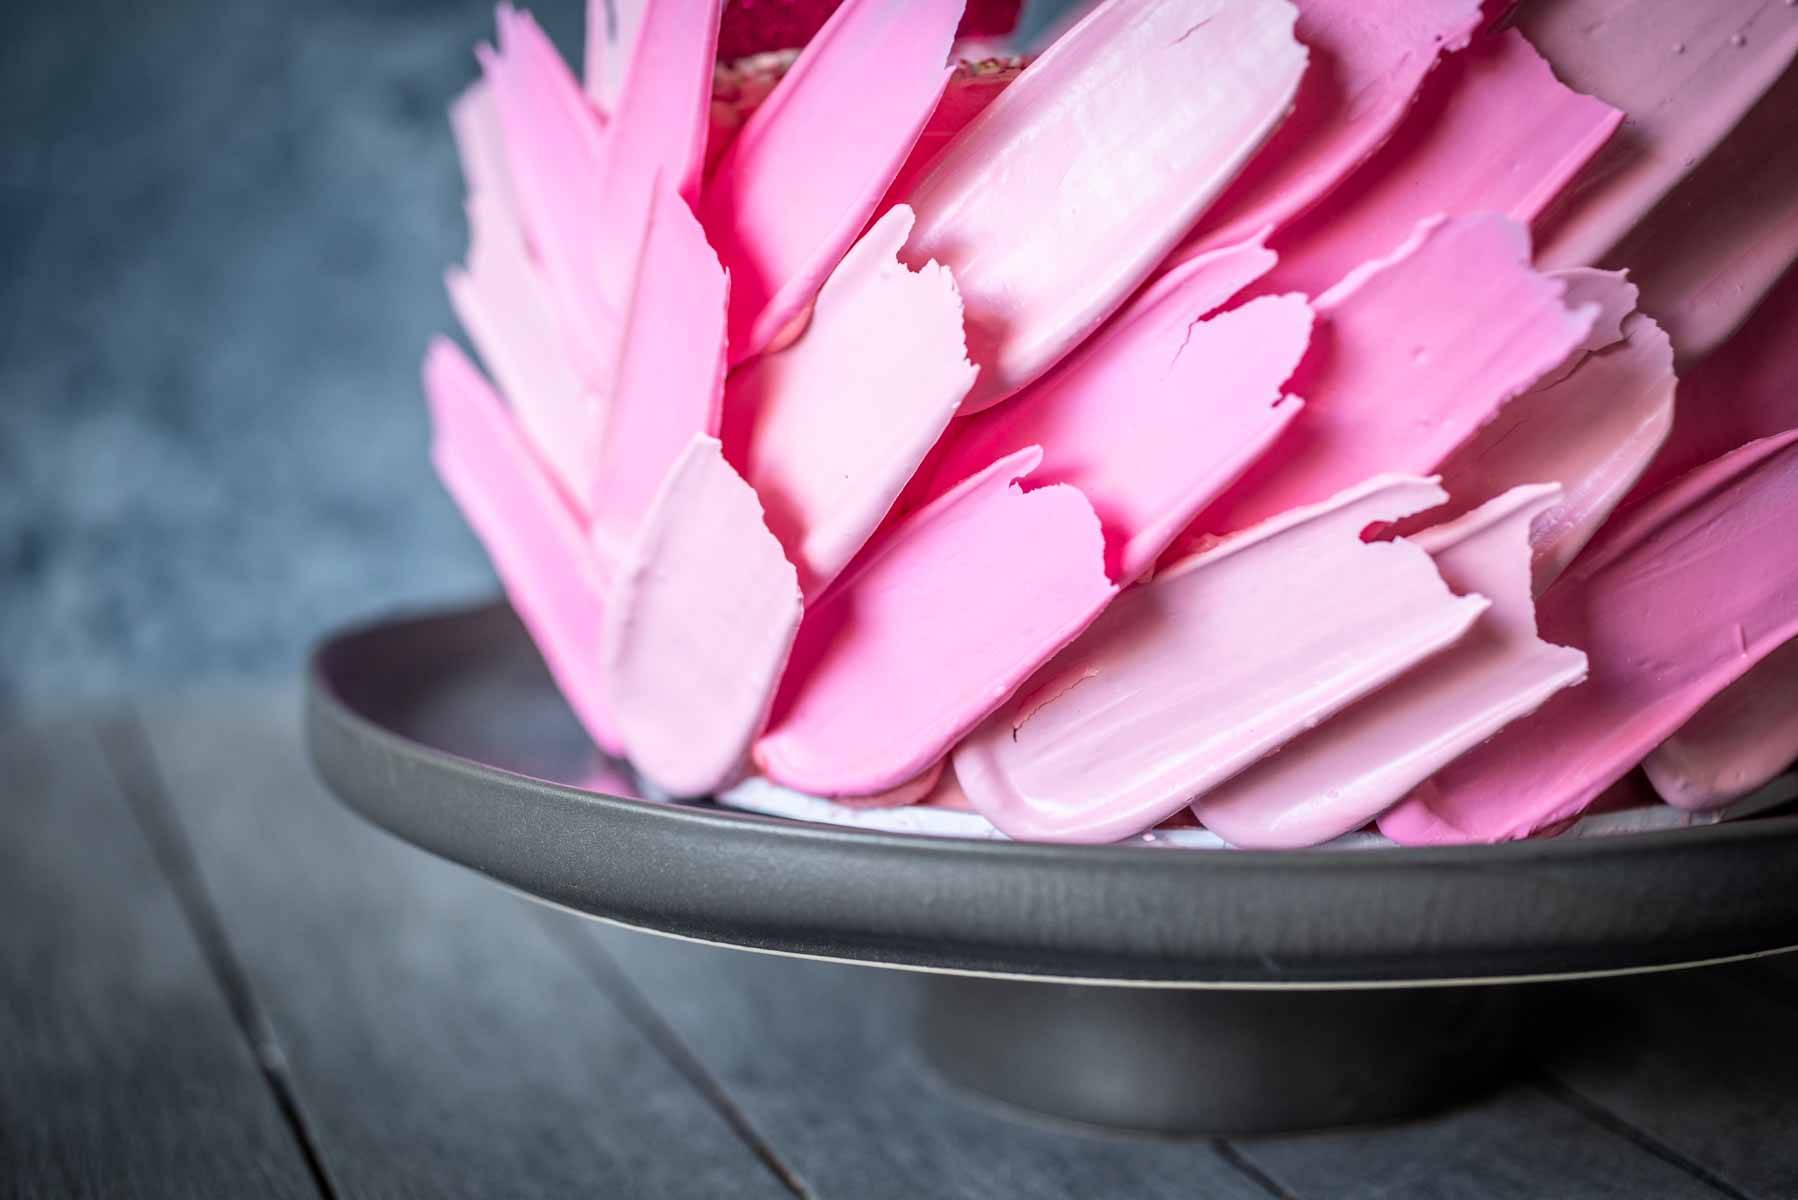
The chocolate “feathers” are made using white candy melts which I coloured in a couple of shades of pink using pink chocolate oil colouring. Then, it is all topped off with a Flamingo Head glitter cake topper. For more info and tips on all the elements of this cake, see the recipe below.
Flamingo Cake and Cake Decorating Tips
Ingredients
- 2 x pre-baked 20cm White chocolate mud cakes (or vanilla cakes or chocolate cakes)
- 3 tbsp Queen Flaming Flamingo sprinkles
- 340g white candy melts
- Pink chocolate oil food colouring
Musk Buttercream
- 250g butter, softened
- 3 cups (450g) icing sugar
- 1.5 tsp Queen Flamingo Fantasy flavour for icing (or other musk flavouring)
- A few drops Pink gel food colouring
Directions
CAKE
Firstly, start with 2 x 20cm white chocolate mud cakes. I used a cake mix that I bought from a cake decorating wholesaler, but you could easily use packet cakes from the supermarket (I have done this many times), or bake them from scratch yourself. When I have a few elements to decorate, I always simplify things by taking the burden out of making a cake from scratch.
Leave your cakes to cool completely. You cannot decorate a warm cake because the buttercream will melt once applied and your cakes will shift. Once your cakes are completely cooled you need to cut each cake in half so you are left with 4 layers of cake.
CAKE TIP ONE: To ensure your cake is easy to decorate, the moment you take the cakes out of the oven place a round plate or cake base on top of each and press down on the top of the cakes. Weigh the plate down with a glass for the first 10 minutes of the cooling time. This means that I don't need to trim the domed top off the cake before decoration and save time and cake!
CAKE TIP TWO: Did you know that you can easily freeze cakes? Cakes that are frozen can actually taste better! So, if you are cooking for a party and want to pre bake your cakes a week in advance, you can. Simply bake, cool, slice into layers and freeze. I wrap each layer in both cling film and aluminium foil before placing in the freezer. You can then later defrost your layers in the fridge overnight before icing.
BUTTERCREAM ICING
To make the musk buttercream beat your butter in a bowl or stand mixer (fitted with the paddle attachment) for about 3 minutes, or until lightened in colour. Add the icing sugar and mix on low until just incorporated. Once incorporated, increase speed to high and beat for 5 minutes until light and fluffy, add the Flamingo flavouring and a few drops of pink gel colouring and beat until just incorporated. Transfer to a piping bag fitted with a large tip - I use a simple round tip.
ICING TIP ONE: Gel food colourings are great because their colours are more vibrant than liquid colouring, and because they aren't liquid they don't change the consistency of the item you are adding them to.
Smear a small amount of buttercream on a 20cm cake board and top with one layer of cake. Spread an even amount of buttercream on top of the cake and top with another layer, repeat until all four layers are stacked on top of each other. Spread a thin coating of buttercream on the top and sides of the cake. This is called the crumb coat and will keep any crumbs from the cake trapped inside the icing. This way your icing is nice and clean when it comes to the final coat. After adding the first crumb coat, place your cake in the fridge to set for 30 minutes.
CRUMB COAT TIP: While the crumb coat helps to trap crumbs from the cake, it also helps you to fill in places where your cake might not be totally even. It is essential and gives you the best possible base for your cakes.
ICING TIP TWO: I cannot stress how much impatience will not fly with decorating cakes. I am the most impatient person I know, and I learnt very quickly that taking shortcuts and trying to ice and decorate cakes quickly simply doesn't work. Give yourself time to do things and let the cake set up in the fridge when icing and decorating to ensure the best outcome.
FEATHERS
While the crumb coat is setting, take the time to make the chocolate feathers. This is the biggest wow factor of the cake and is achieved by using candy melts and either a silicon brush, pastry brush or a spatula. I used these silicon brushes and loved the result.
To make the feathers, place your white candy melts in a microwave safe bowl and heat for 1 minute at 50% power. They melts will still be holding their shape so you will need to mix them once finished to see if they have completely melted, if not heat in short 10 second bursts at 50% power until completely melted. Transfer half of the mixture to another bowl and add a few drops of pink chocolate oil food colouring to one and a little more of the colouring to the second bowl. You want to have two different shades of pink as this adds more dimension to the cake.
Once coloured, lay down baking paper on your bench top and dollop a 1-2 tsp amount of pink candy melts. Taking your silicon brush (or pastry brush or the back of a small spoon) spread the mixture straight across so that you have a "smear" of the melt. Here is a good video of how to do this. Repeat with all the coloured candy melt mixture until you have lots of chocolate "feathers" and set aside on the baking paper in the fridge to set.
CANDY MELT TIP: The reason I use Candy Melts and not white chocolate is that candy melts are much much easier to work with. They are more stable than chocolate once they have been melted and set up hard and crisp. You can absolutely use white chocolate, but you will need to temper the chocolate or the feather could melt when handling them to add to the cake. Tempering is a whole thing, takes a bit of time, and often isn't achieved easily if you haven't done it before. Do yourself a favour and take the stress out of it by using candy melts. If you can't be bothered making two colours of candy melt feathers, you can just buy pink candy melts and be done with it.
CHOCOLATE OIL COLOURING TIP: Whether you use chocolate or candy melts to make feathers, you need to make sure, if you are colouring these with food colouring you will need chocolate oil colouring. Normal gel food colourings cannot be added to chocolate (or candy melts) because they change the consistency of the chocolate and cause it to seize making it unable to be used. You can buy these online from cake decorating shops.
ASSEMBLY
You are now ready to add the second coat of icing. Luckily, the whole cake will be covered in either sprinkles or feathers, so there is no need to be perfect here. Just get a nice thick layer of buttercream icing on the outside of the cake so that it tastes delicious.
Once the second layer of buttercream has been added, sprinkle the Flamingo sprinkles all over the top of the cake. Gently pull each feather from the baking paper - you will likely have some that break, but that is ok because you should have more than you need.
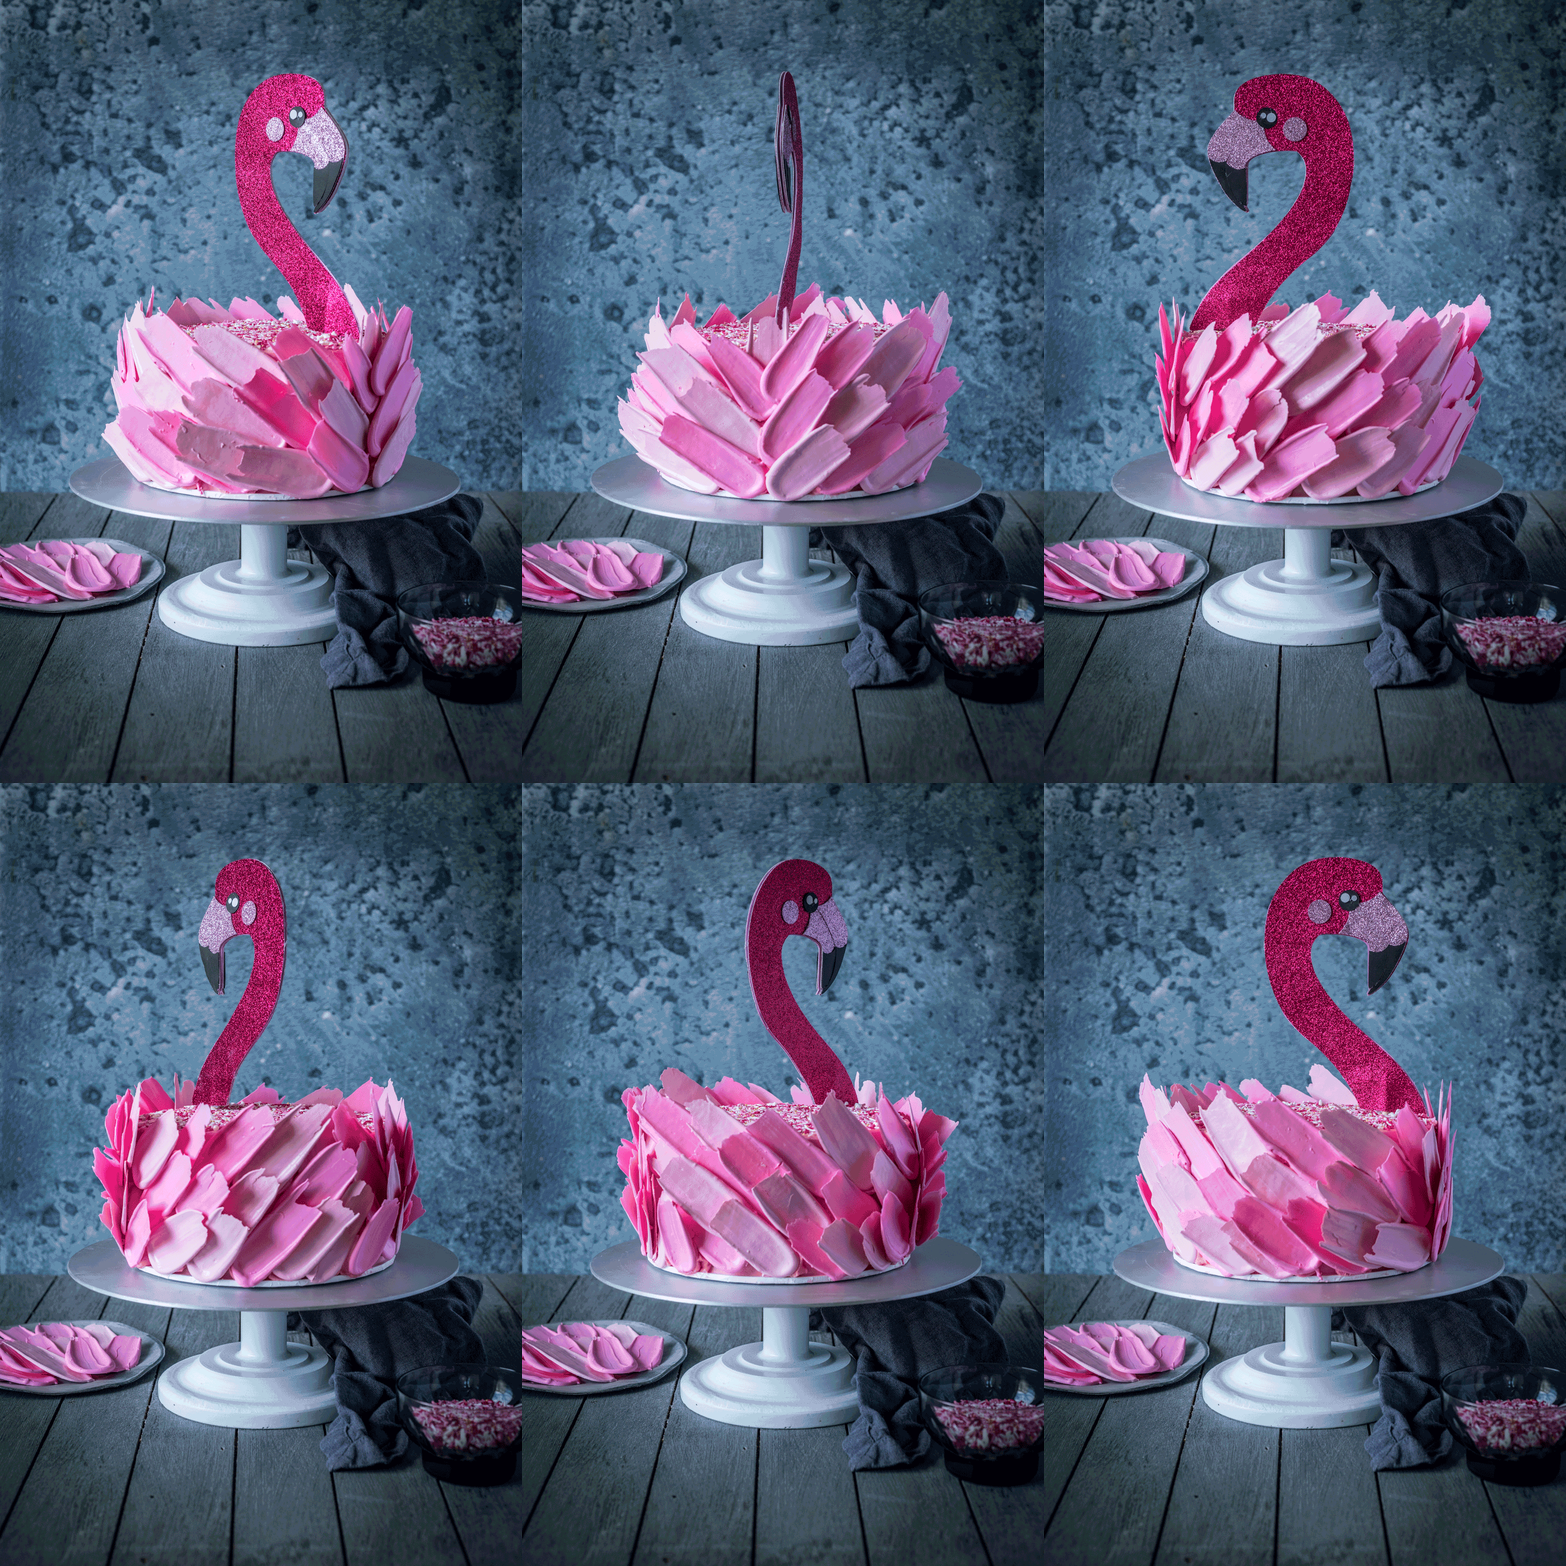
To attach the feathers to the cake by pipe a small dollop of icing to the outside and gently press the base of a feather into the icing to adhere it to the cake. I mixed the two colours of feathers as I went attaching the feathers and I identified the front of the cake by fanning the feathers around the sides like a bird. See the video gif above to see how the feathers were laid out around the cake.
Finally you will need to add a flamingo head to make the cake actually look like a flamingo. I made this flamingo head cake topper myself using my Cricut Maker (a die cutting machine). To do this, I created a design in Cricut Design Space and then used my Cricut Maker machine to cut glitter and black card stock. I then glued it all together using a hot glue gun and glued in a wooden cake dowel to hold it in the cake. The other option is to find a great flamingo head picture that you like online, print it onto thick card and cut that out. Then you just glue it to a dowel and pop it in the cake.
DIE CUTTING MACHINE TIP: The Cricut Explore Air and Maker machines are die-cutting machines (aka craft plotter or cutting machine). They are a little like a printer, but they cut things instead of print; you create an image or design on your computer and then send it to the machine to cut.



Delicious designer cake, I like butter cream icing, beautiful flamingo cake, I haven’t seen earlier. Thank you for sharing this cake.
This cake is absolutely amazing! You are very talented. I think it’s great that you give all those tips too.