It seems like I make an inordinate amount of cakes these days. The truth is that I don’t get a lot of time to write for the blog these days thanks to a very busy schedule of client styling and photography work. I’m constantly cooking and shooting for clients that I find it hard during time off to make things for the blog. Also, when my toddler isn’t at daycare, she commands all of my attention (I know you other mothers out there will get it).
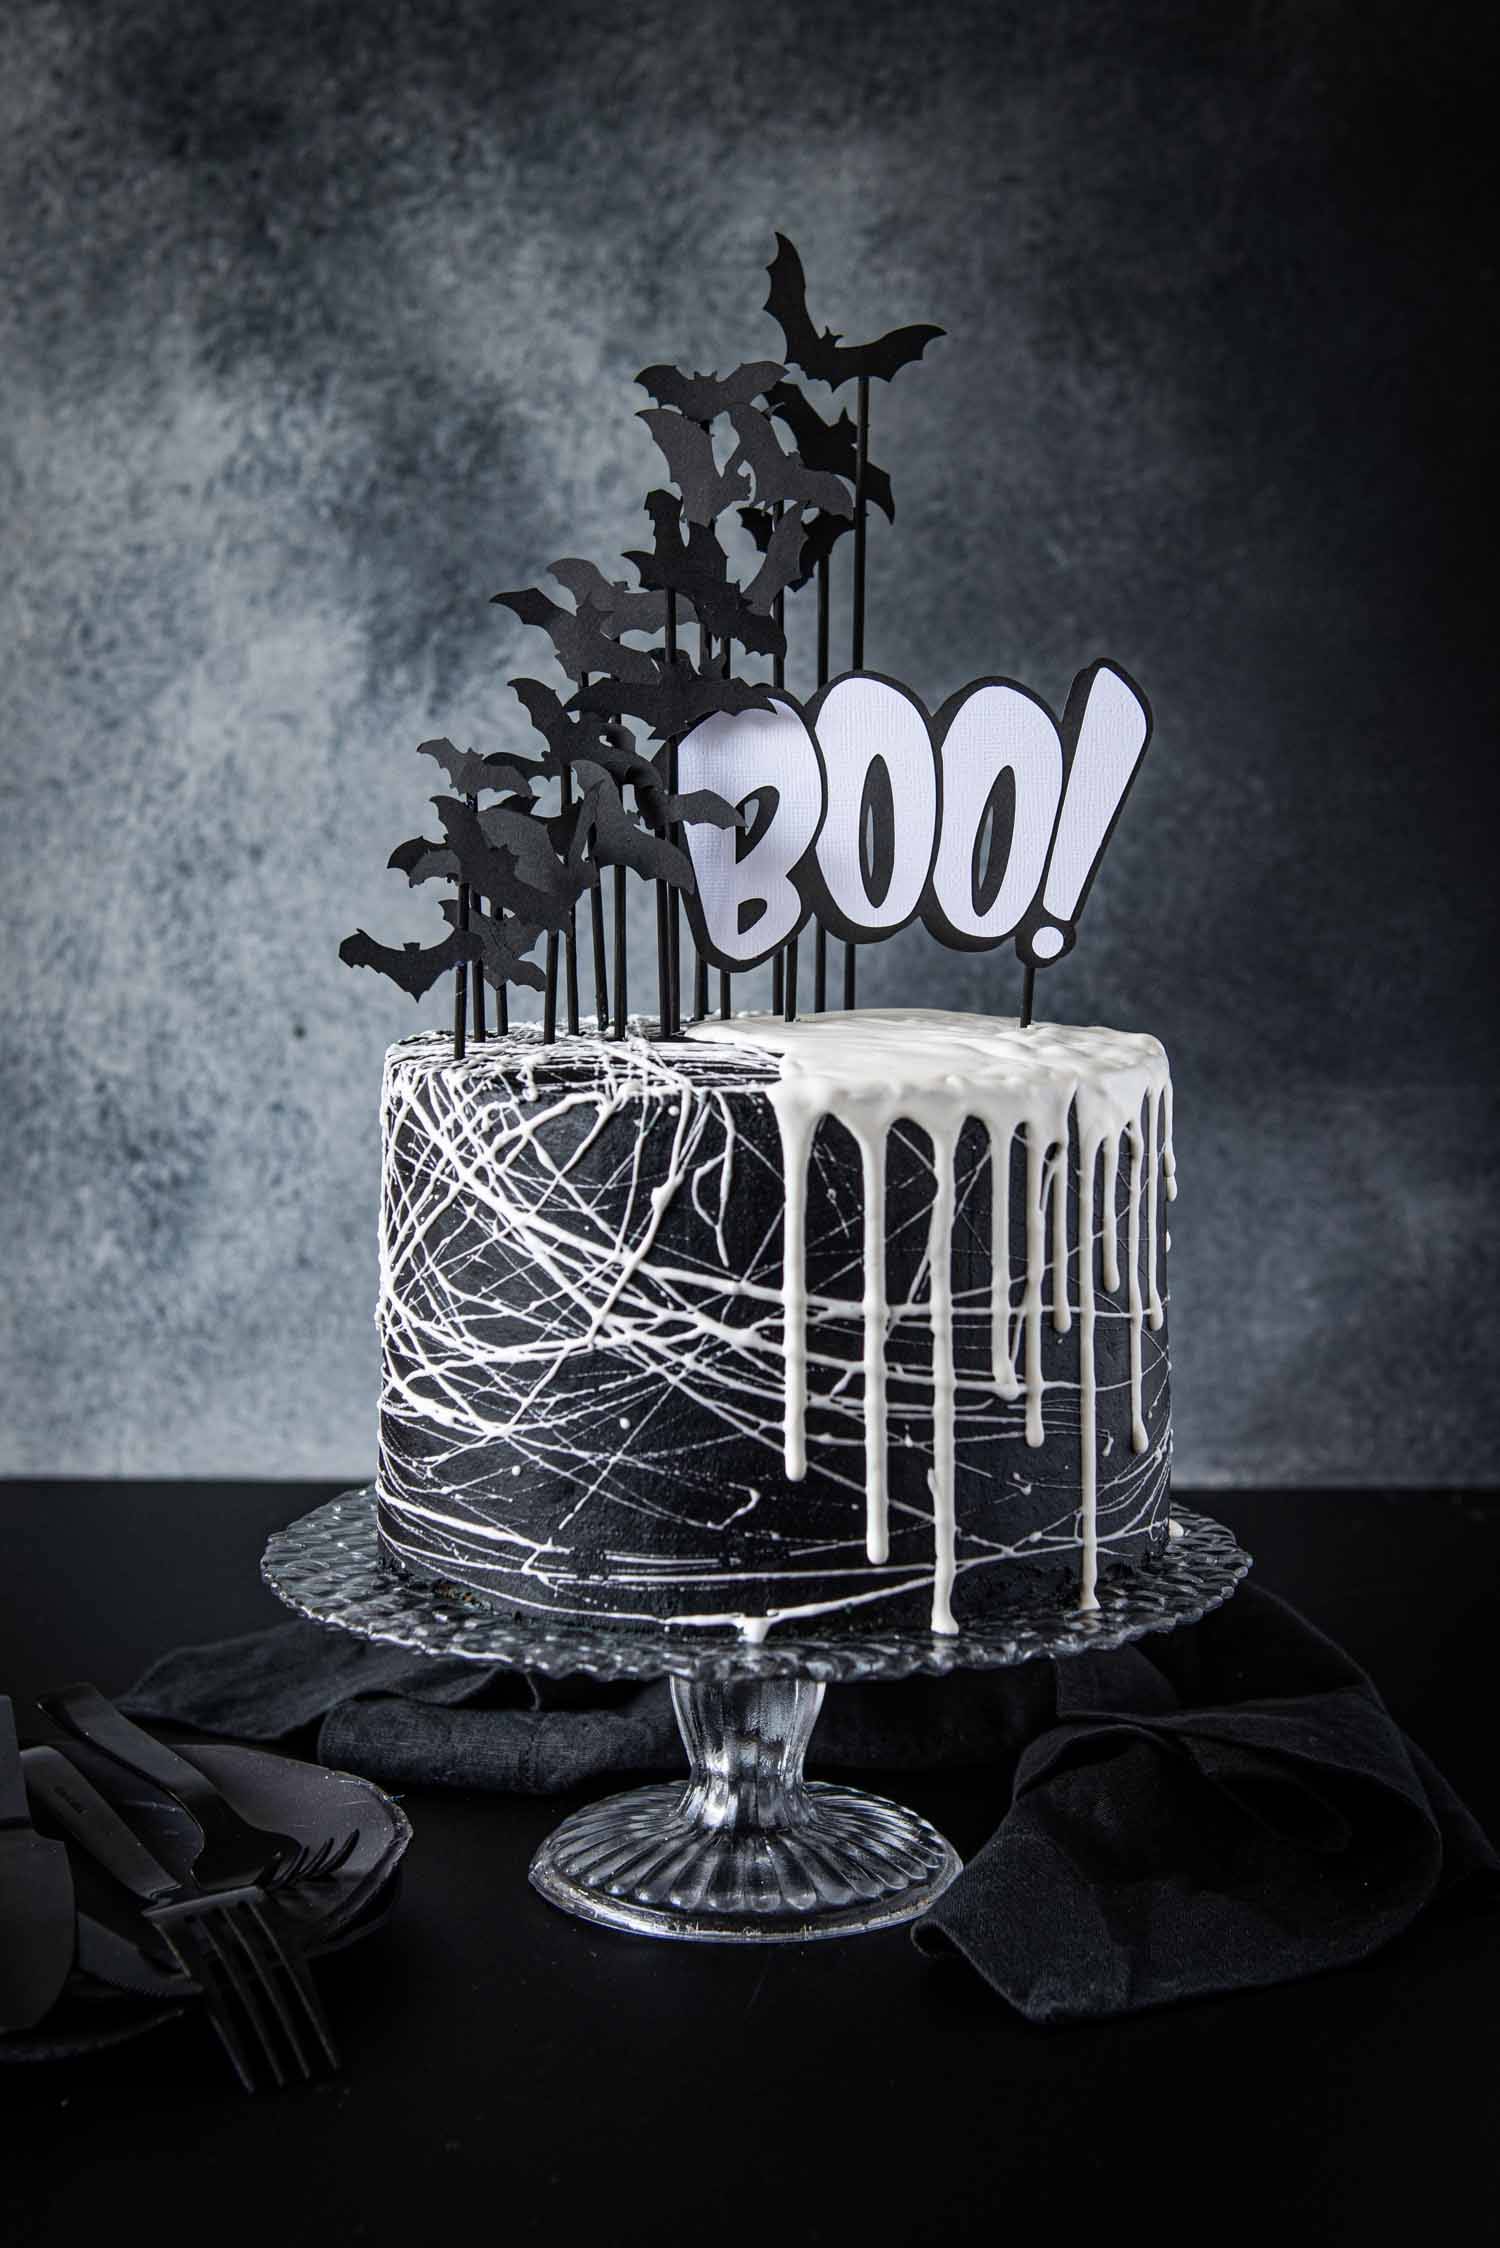
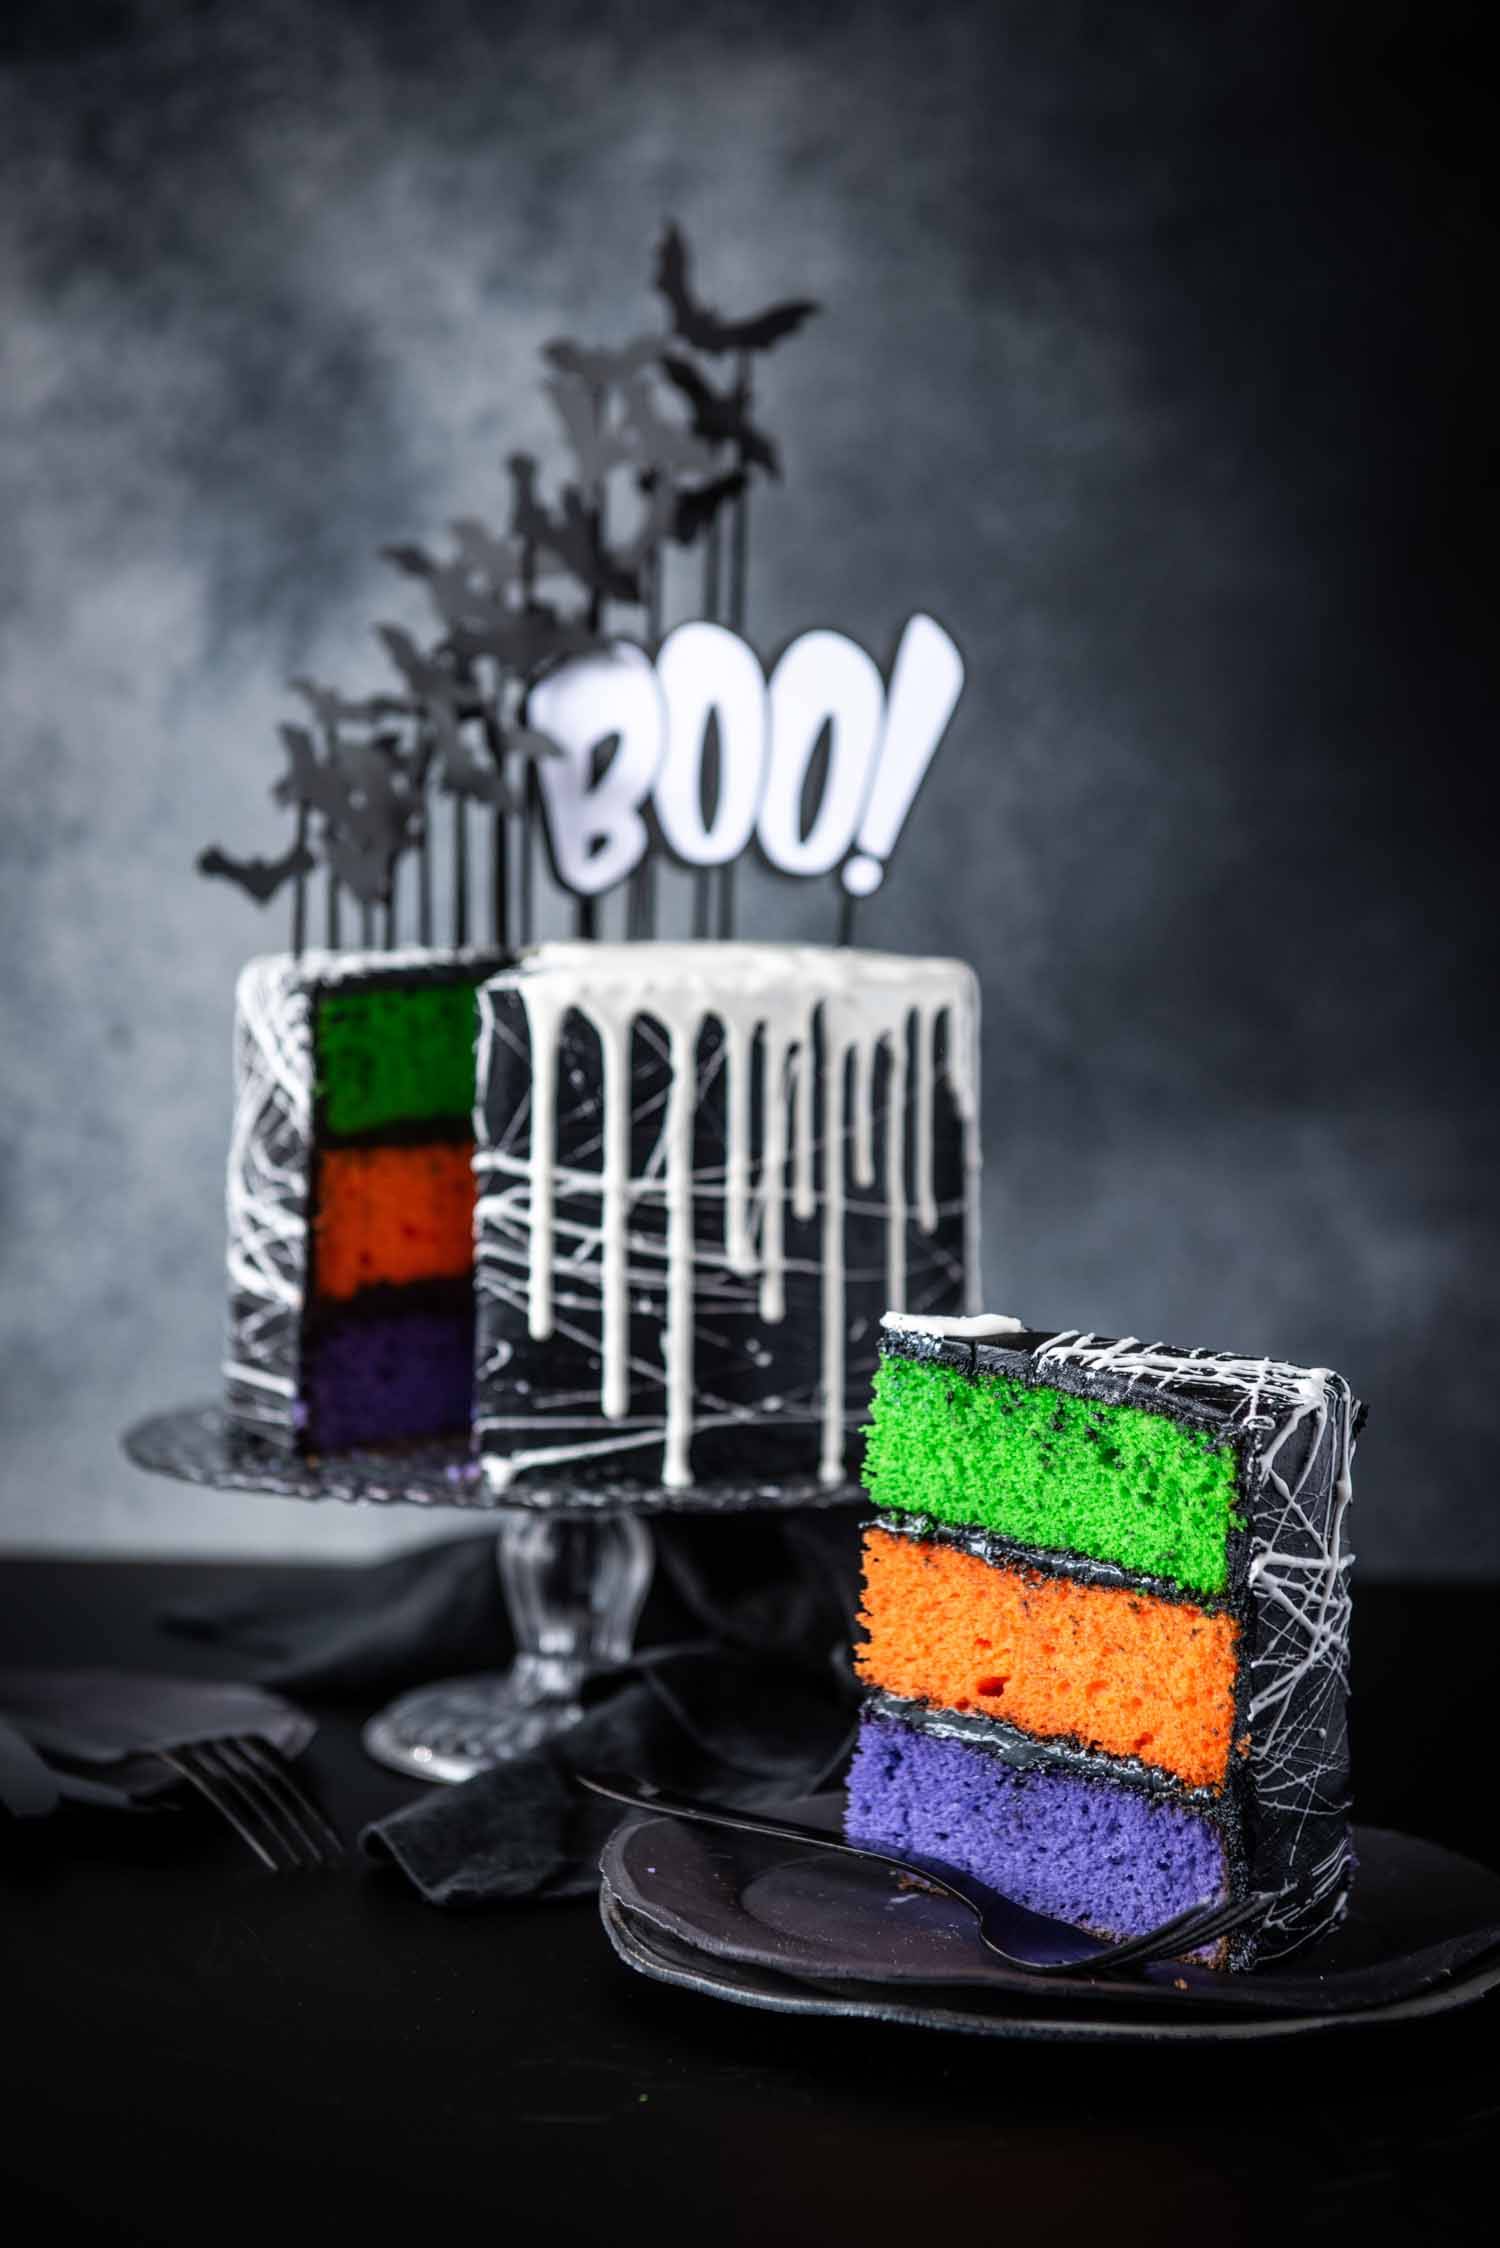
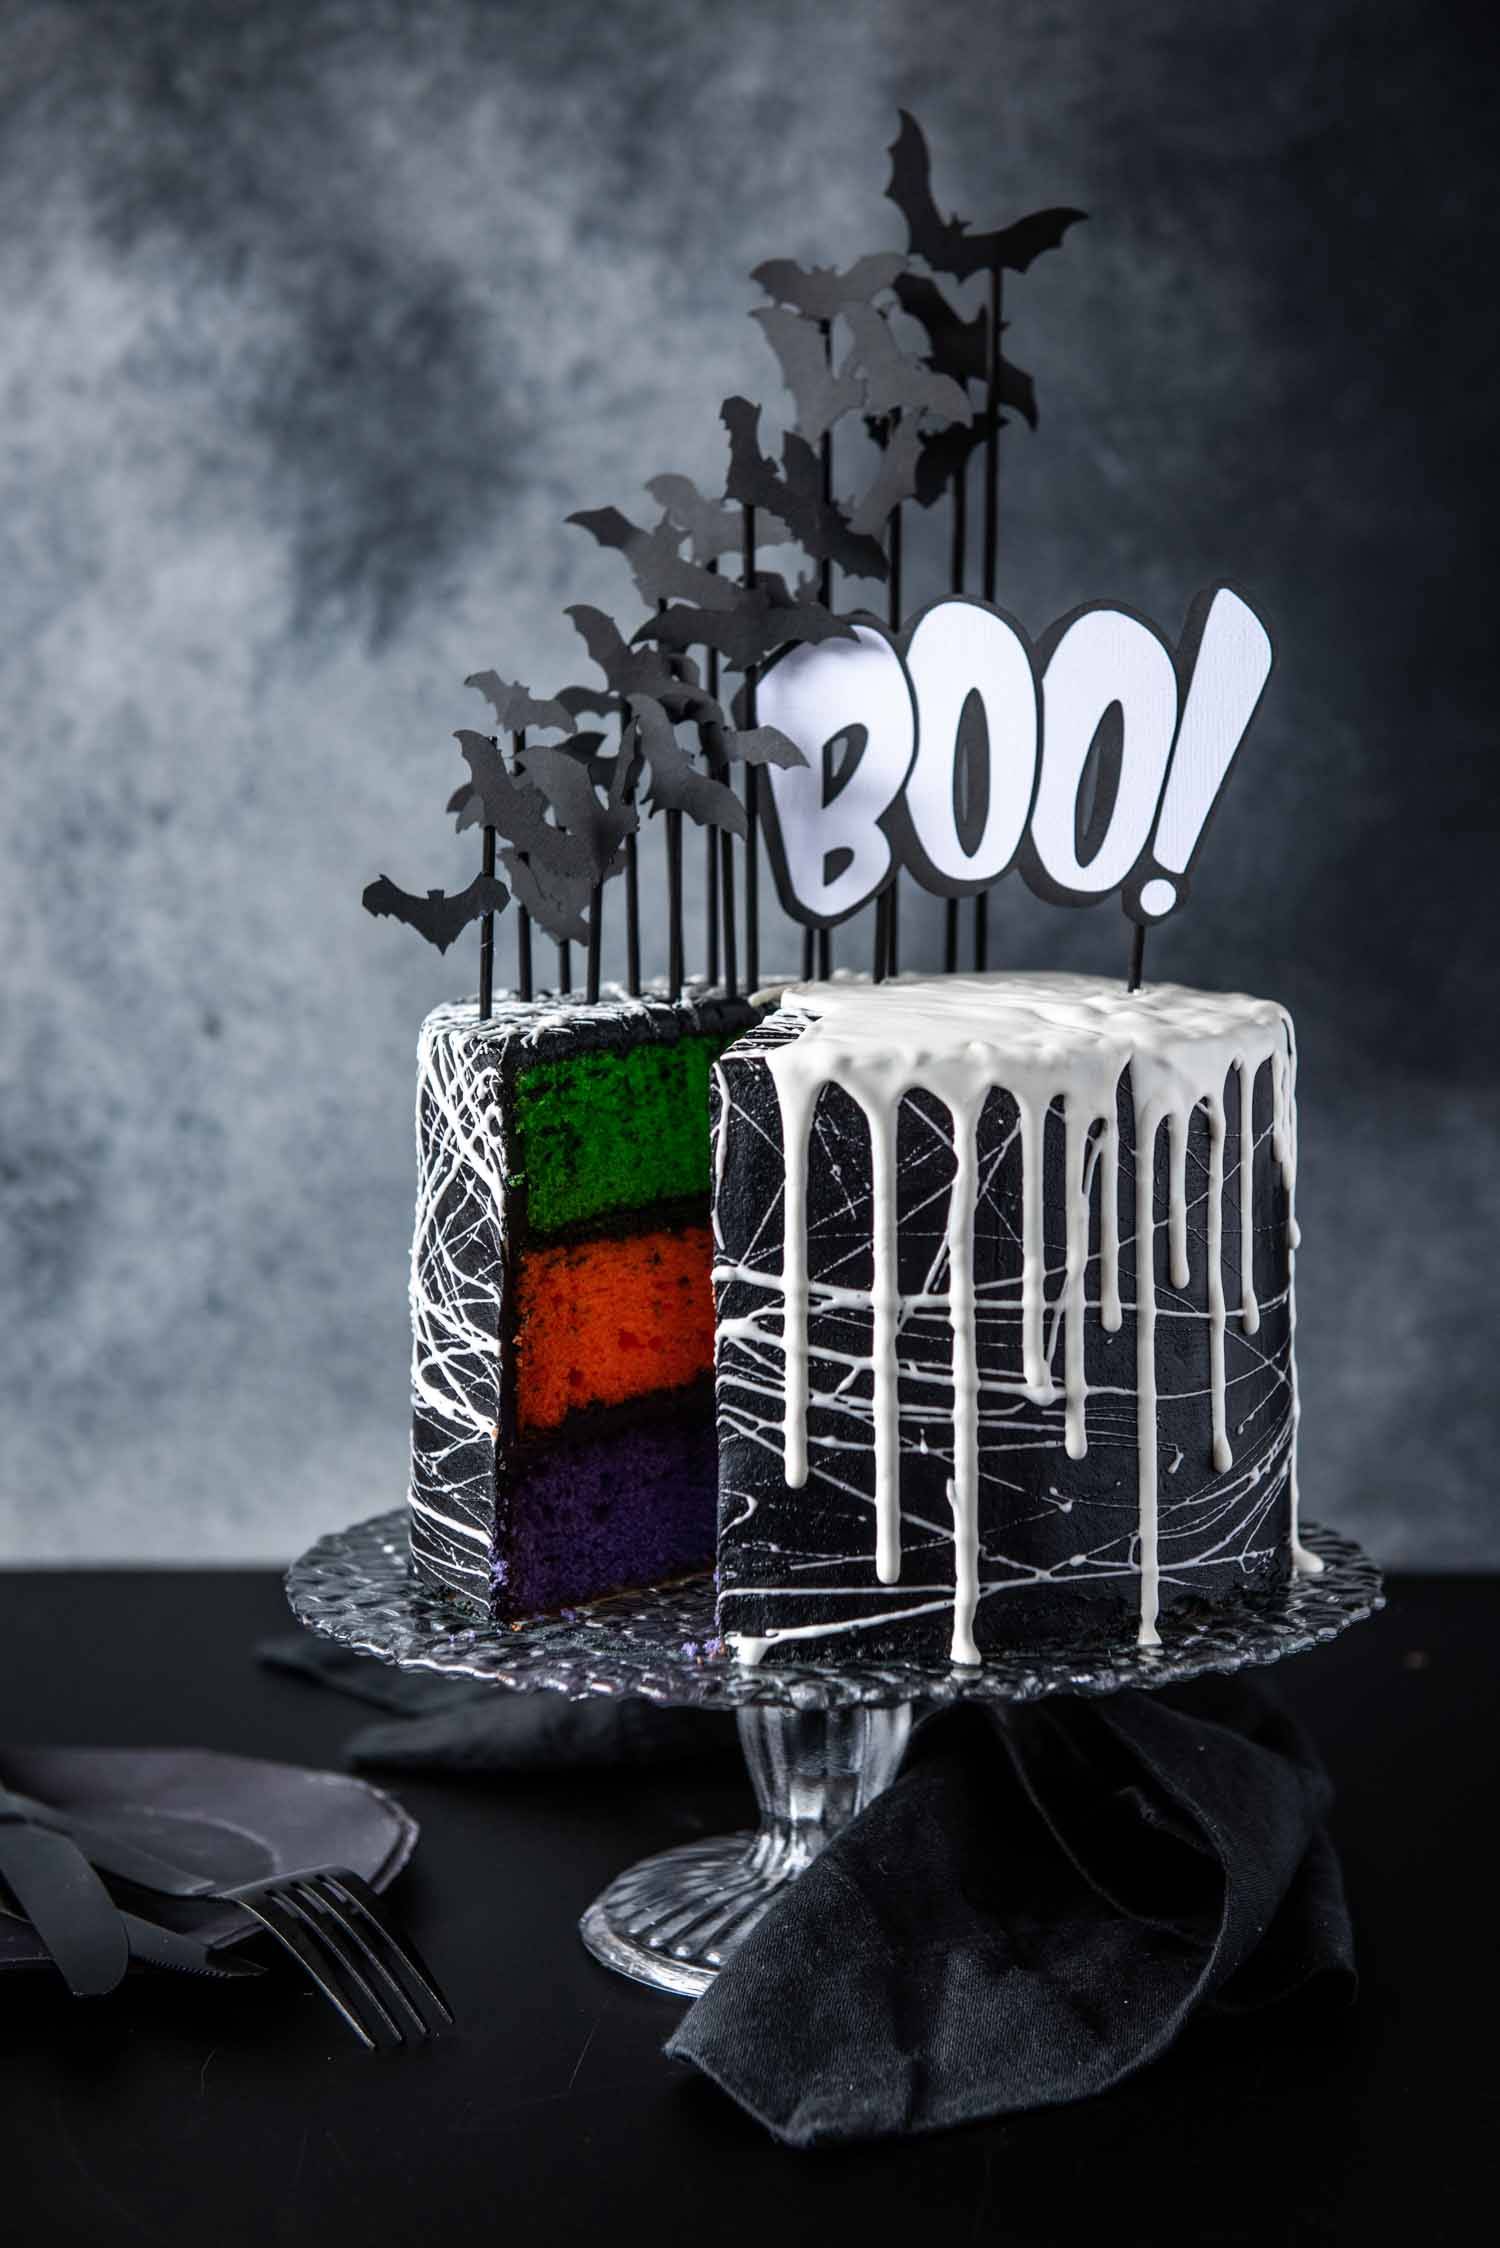
When I do find the time to make things for me, I like to incorporate my love of craft too and cakes are the perfect vehicle for both cooking and crafts. With Halloween a few weeks away, I recently had the idea for this bat cake after creating a delicious Halloween recipe for a client (I’ll link that recipe here for you soon) and I knew I just had to share it. The idea for the bat cake is that it is completely black and white on the outside and bright and colourful with key halloween colours on the inside.
I suppose it is also time to let you all in on a little secret. Almost all the cakes I make for the blog use special cake batter recipes that I’ve developed, tested and created. Sometimes though, when making cakes for friends or when I want to focus solely on the decoration I do 100% use a packet cake. There is absolutely nothing at all wrong with that. On those occasions I always use Betty Crocker packet cakes (either chocolate or vanilla cake depending on the cake’s concept). When I use a packet cake I ALWAYS get asked for the recipe for the cake. Thanks to being a stickler for telling the truth, I always end up telling them my secret.
So the truth is, this cake used 2 Betty Crocker vanilla packet cakes with salted caramel flavouring for this bat cake. I then split the batter in 3 and added gel colouring to each lot of batter. Around the outside and in the middle I used my tried and tested vanilla buttercream with black gel colouring. The rest of the decoration is easier than you think: The webs are made using marshmallows with a technique that is actually really quick and easy; and the drips are made with a combination of white chocolate, white candy melts and vegetable oil to get the colour white while also allowing for it to run and set properly when creating the drips. If you would like to make this cake, the full how-to is under the next image.
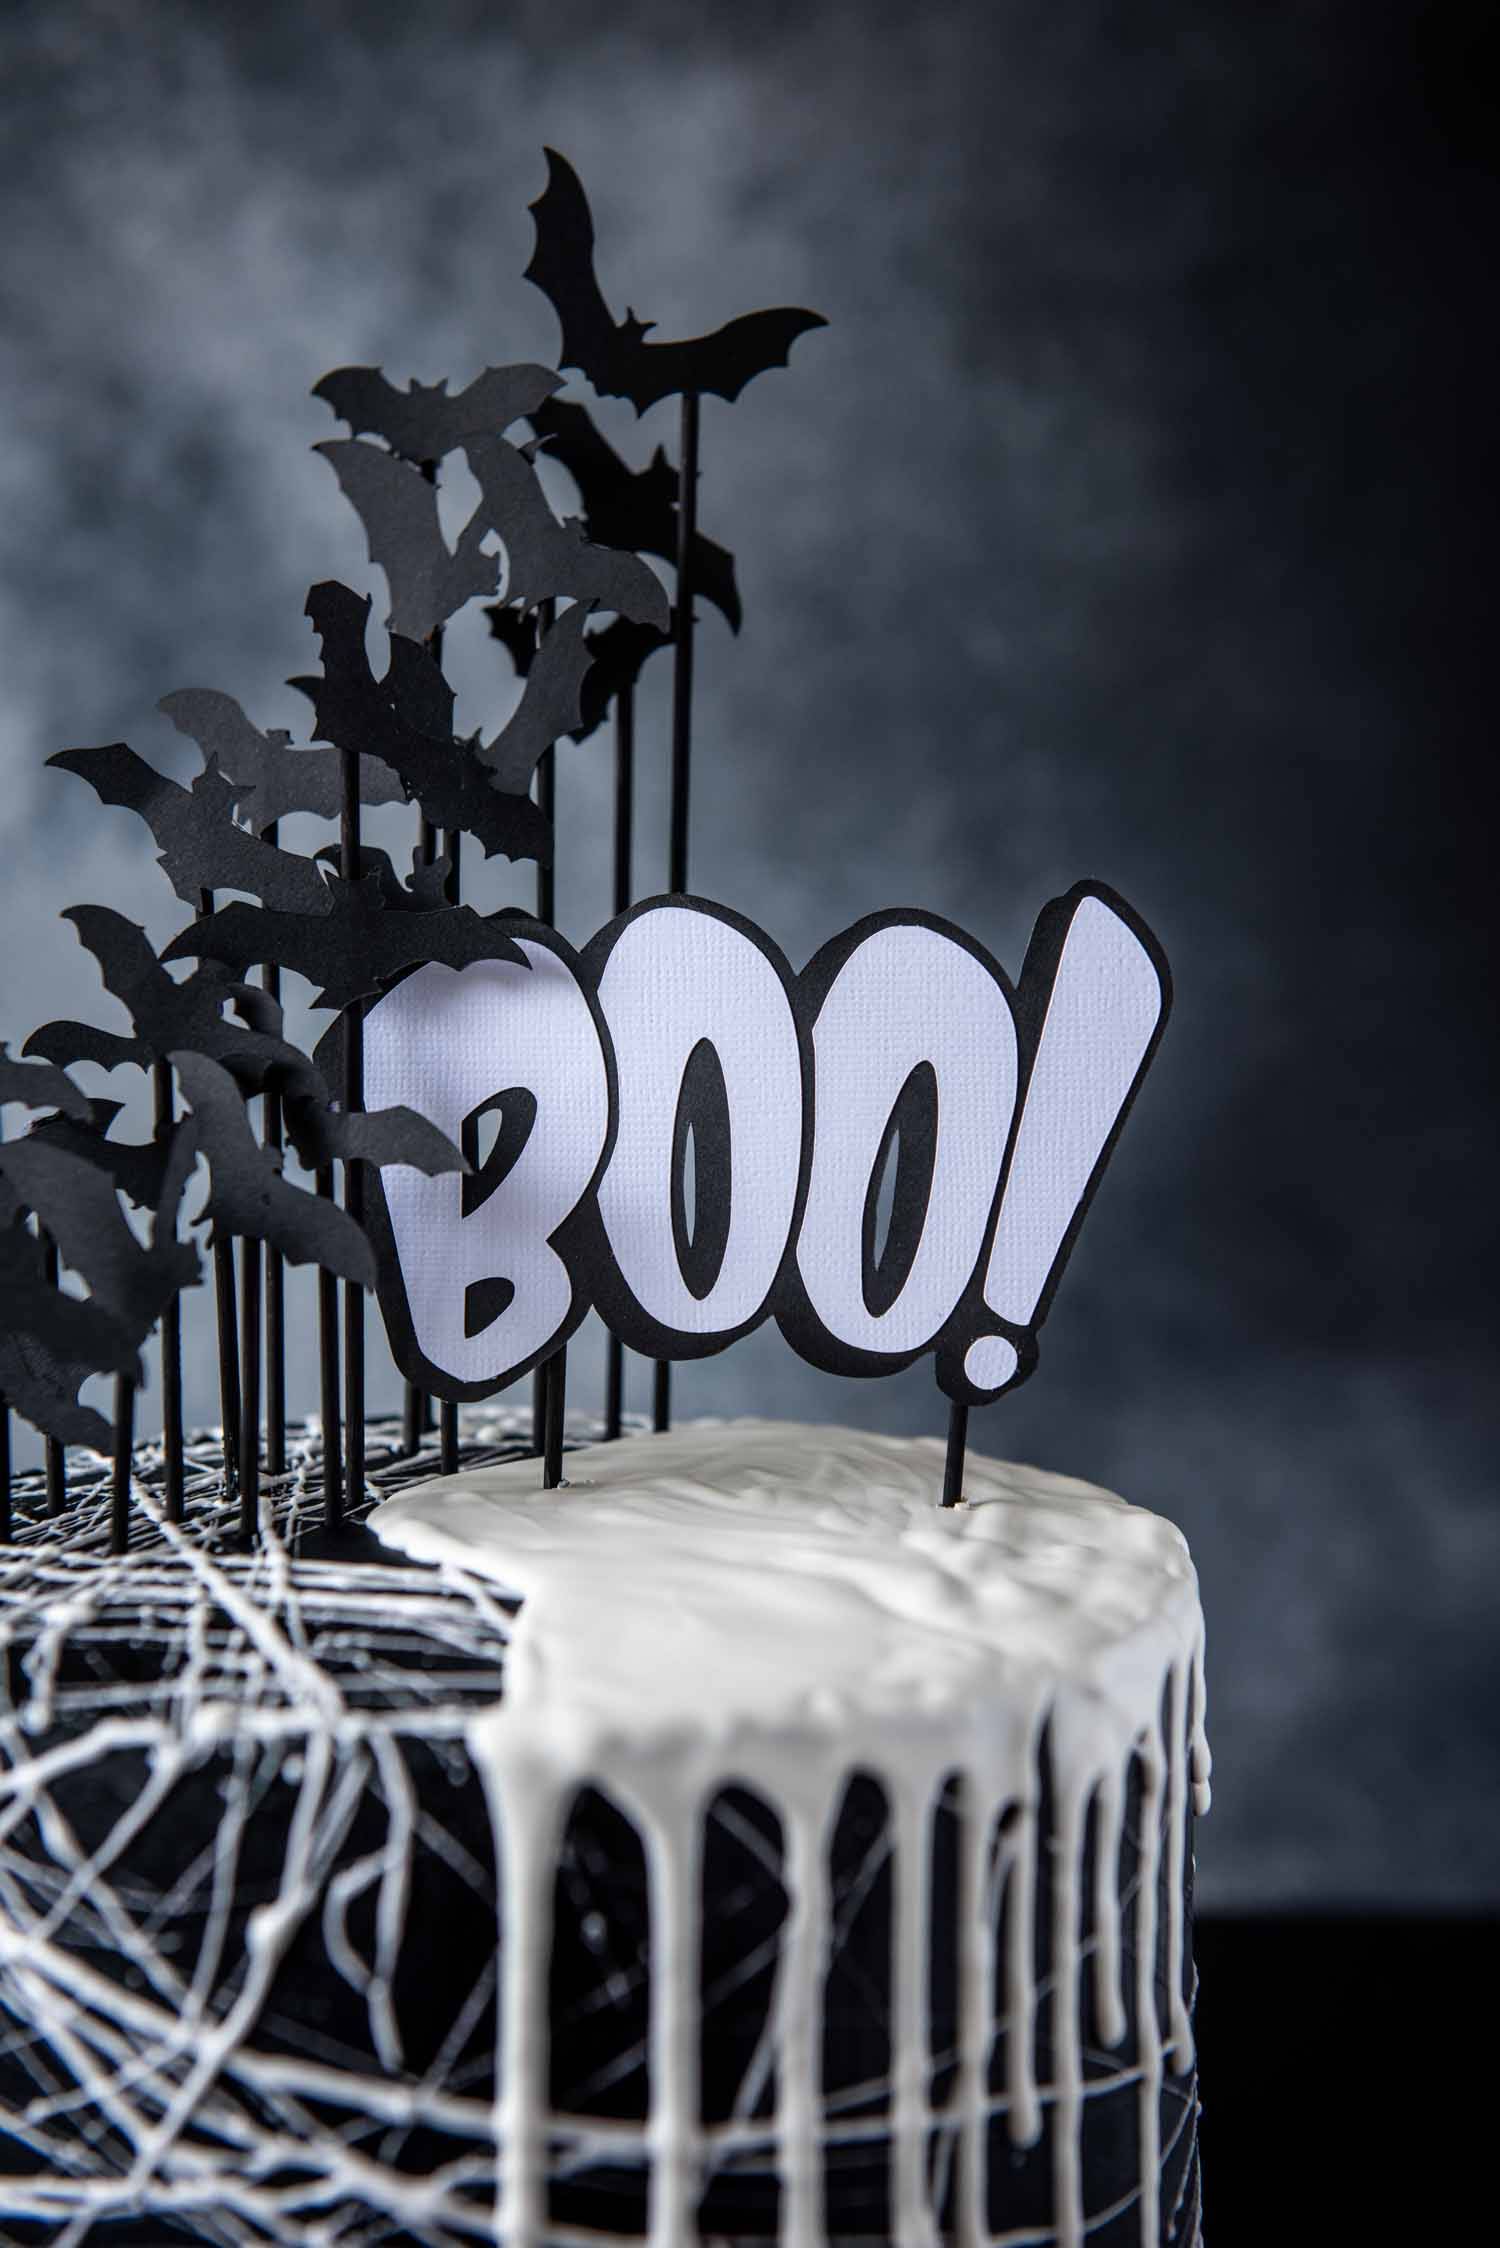
To finish it all off, the cake topper is simply white and black cardstock hot glued on skewers that I painted black. I cut these with my Cricut Maker machine after creating the bat design in Cricut Design Space. If you want the link to the cut file you’ll find it here.
Halloween Bat Cake
Ingredients
Cakes
- 2 x Betty Crocker Vanilla Cake Mix 540g
- 6 large eggs
- 160g butter, melted
- 1 1/2 cups milk
- 1 1/2 teaspoons Queen Salted Caramel Flavouring
- Gel food colouring in green, orange and purple
Vanilla Buttercream
- 250g butter, softened
- 3 cups icing sugar
- Black gel food colouring
Decoration
- 6-8 white marshmallows
- 150g white chocolate
- Handful white candy melts
- 2 tsp vegetable oil
Directions
CAKES
Preheat the oven to 160°C and line 3 20cm cake tins with baking paper. Make the packet cakes in one large bowl as per the packet directions using the eggs, butter and milk and add the salted caramel flavouring. Separate the batter into 3 equal portions and then add orange gel colouring to one, purple to another, and green to the last batch so that you have 3 vibrant batters. Pour each colour into its own tin and bake for 40-45 minutes or until a skewer inserted comes out clean. Set aside to cool completely.
CAKE TIP: To ensure your cake is easy to decorate, the moment you take the cakes out of the oven place a round plate or cake base on top of each and press down on the top of the cakes. Weigh the plate down with a jar, can or heavy glass for the first 10 minutes of the cooling time. This means that I don't need to trim the domed top off the cake before decoration saving time and cake!
BUTTERCREAM ICING
To make the musk buttercream beat your butter in a bowl or stand mixer (fitted with the paddle attachment) for about 3 minutes, or until lightened in colour. Add the icing sugar and mix on low until just incorporated. Once incorporated, increase speed to high and beat for 5 minutes until light and fluffy, add the black gel colouring and beat until just incorporated. Transfer to a piping bag fitted with a large tip - I use a simple round tip.
ICING TIP: Gel food colourings are great because their colours are more vibrant than liquid colouring, and because they aren't liquid they don't change the consistency of the item you are adding them to. If you don't add enough gel colouring, your icing may turn grey so bear that in mind. Also, note that gel colours continue darkening a little in the icing so bear that in mind.
Smear a small amount of buttercream on a 20cm cake board and top with one layer of cake. Spread an even amount of buttercream on top of the cake and top with another layer, repeat until all three layers are stacked on top of each other. Spread a thin coating of buttercream on the top and sides of the cake. This is called the crumb coat and will keep any crumbs from the cake trapped inside the icing. This way your icing is nice and clean when it comes to the final coat. After adding the first crumb coat, place your cake in the fridge to set for 30 minutes.
Once the crumb coat is set, you are now ready to add the second coat of icing. Use a clean plastic ruler or special cake tool to ensure the sides and top of your cake are straight and level. Pop in the fridge again to set for 30 minutes. We will be adding warm marshmallow webs to the cake so you definitely want to make sure your icing has set.
DECORATION
Place the marshmallows in a microwave safe bowl and microwave on half power for 20 seconds. Remove from microwave and stir with a spoon until the marshmallows have combined (it will be sticky). Set aside to cool for 20 seconds so it isn't too hot, then dip the fingertips of both hands into the mixture. Press your hands together with just your coated finger tips then slowly pull them apart. This should create strings of marshmallow which you can then lay over the iced cake to resemble webs. Repeat this as many time as you like to achieve your desired web look.
WEB TIP: If the marshmallow mixture is too hot you won't be able to pull webs with your fingertips and they will break easily as you pull your fingers apart. If this happens, just let the marshmallows cool a little more until you can. If the marshmallow mixture is too cool, your fingertips will stick together when you press them. If this happens, just re-warm the marshmallows up in the microwave again.
For the white chocolate drips, combine the white chocolate and candy melts in a microwave safe bowl and microwave on half power in short burst, stirring between each burst until completely melted. Add the vegetable oil and stir until well combined. Transfer the whole mixture to a squeezy bottle and then slowly run the bottle along the top edge of the cake squeezing the bottle a little where you want the drips to fall. You then pull back from the edge and use the squeezy bottle to add a pool of chocolate on top of the cake to connect to the edge of the drips. I only did this around half of the cake but you can go around the whole cake if you want to.
Cut out the cake topper elements using a Cricut machine and this file and hot glue them to skewers that have been painted black. Insert in the top of the cake and serve.

