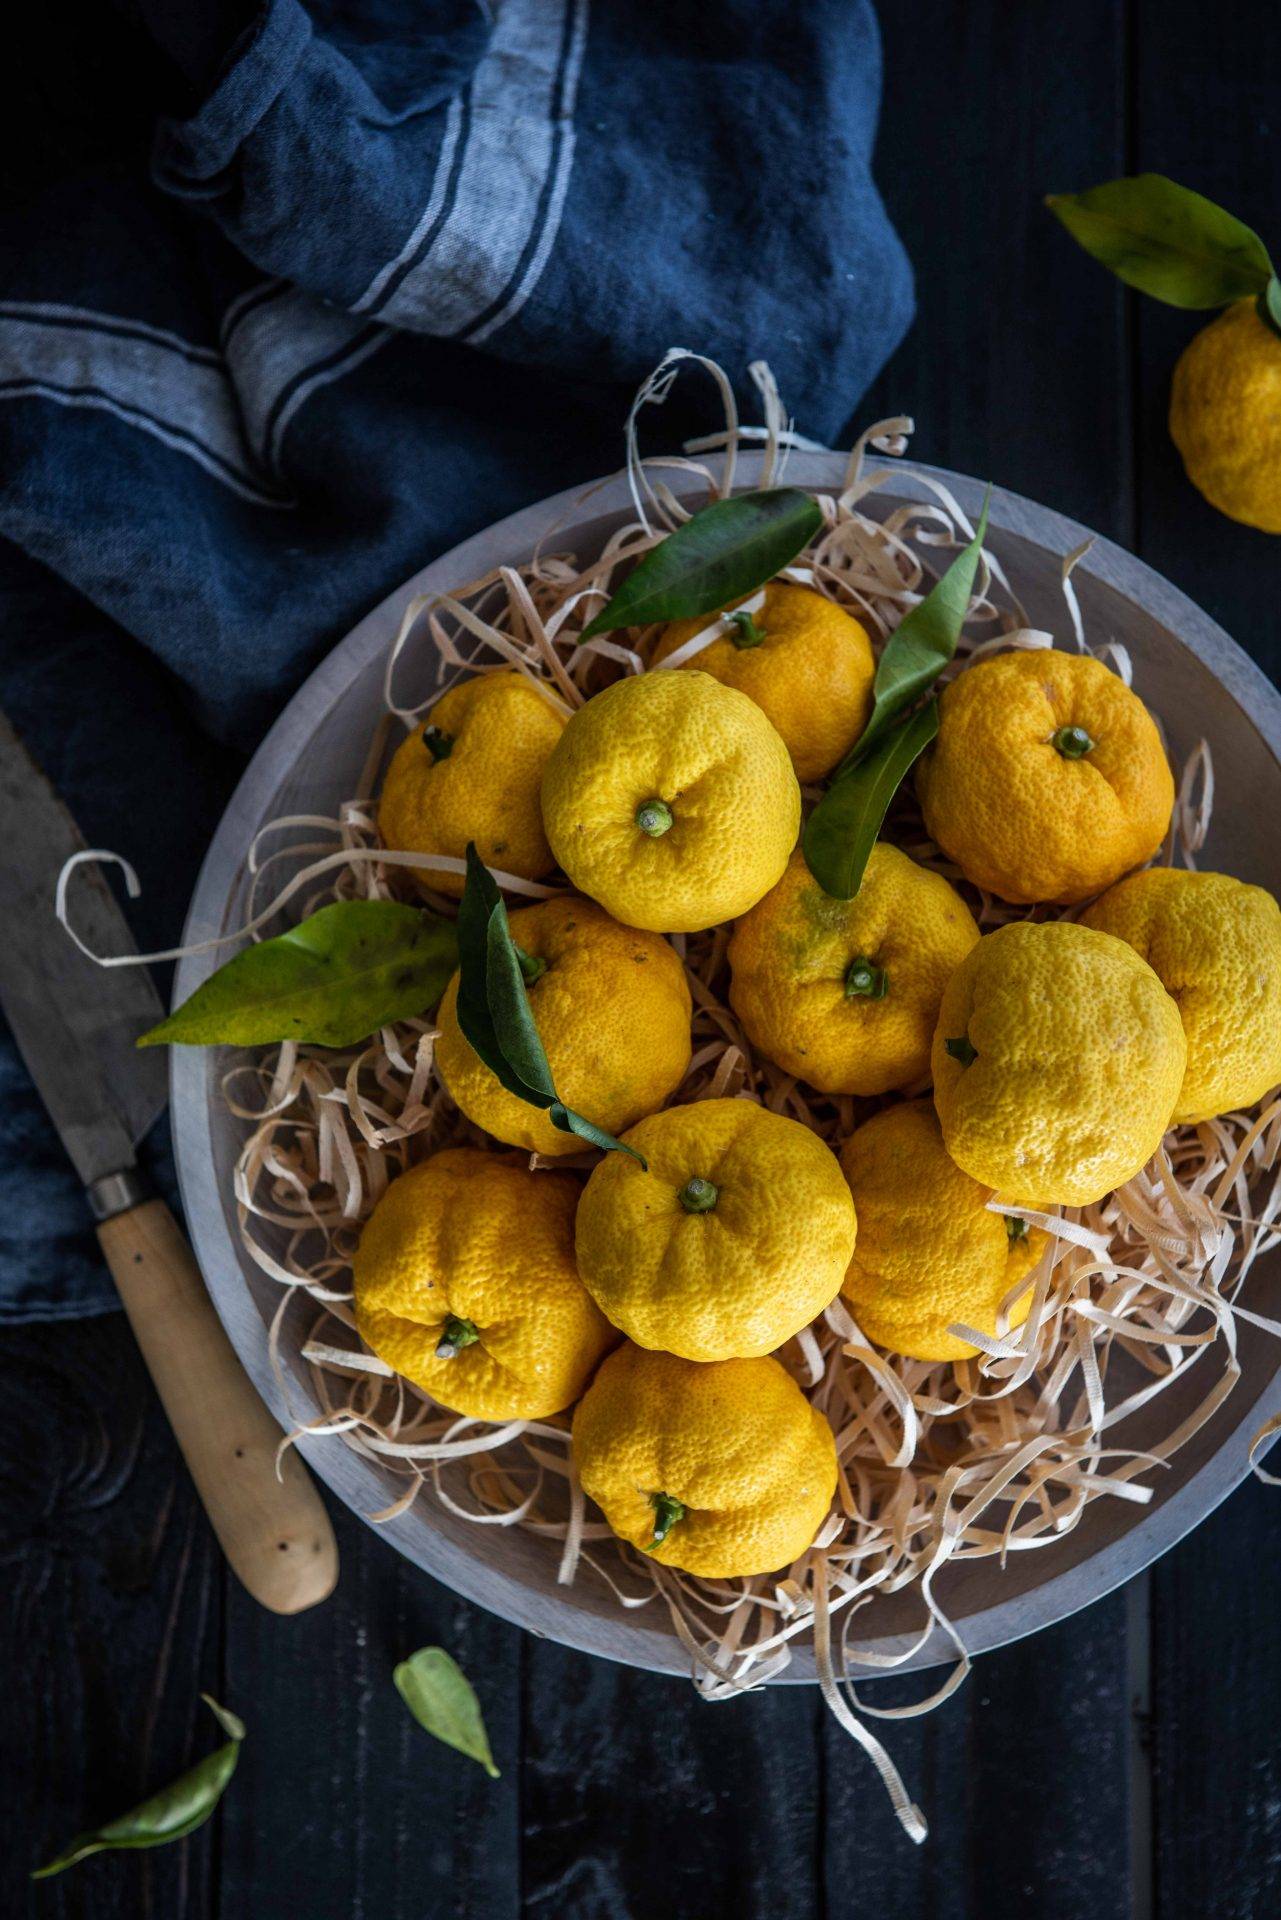
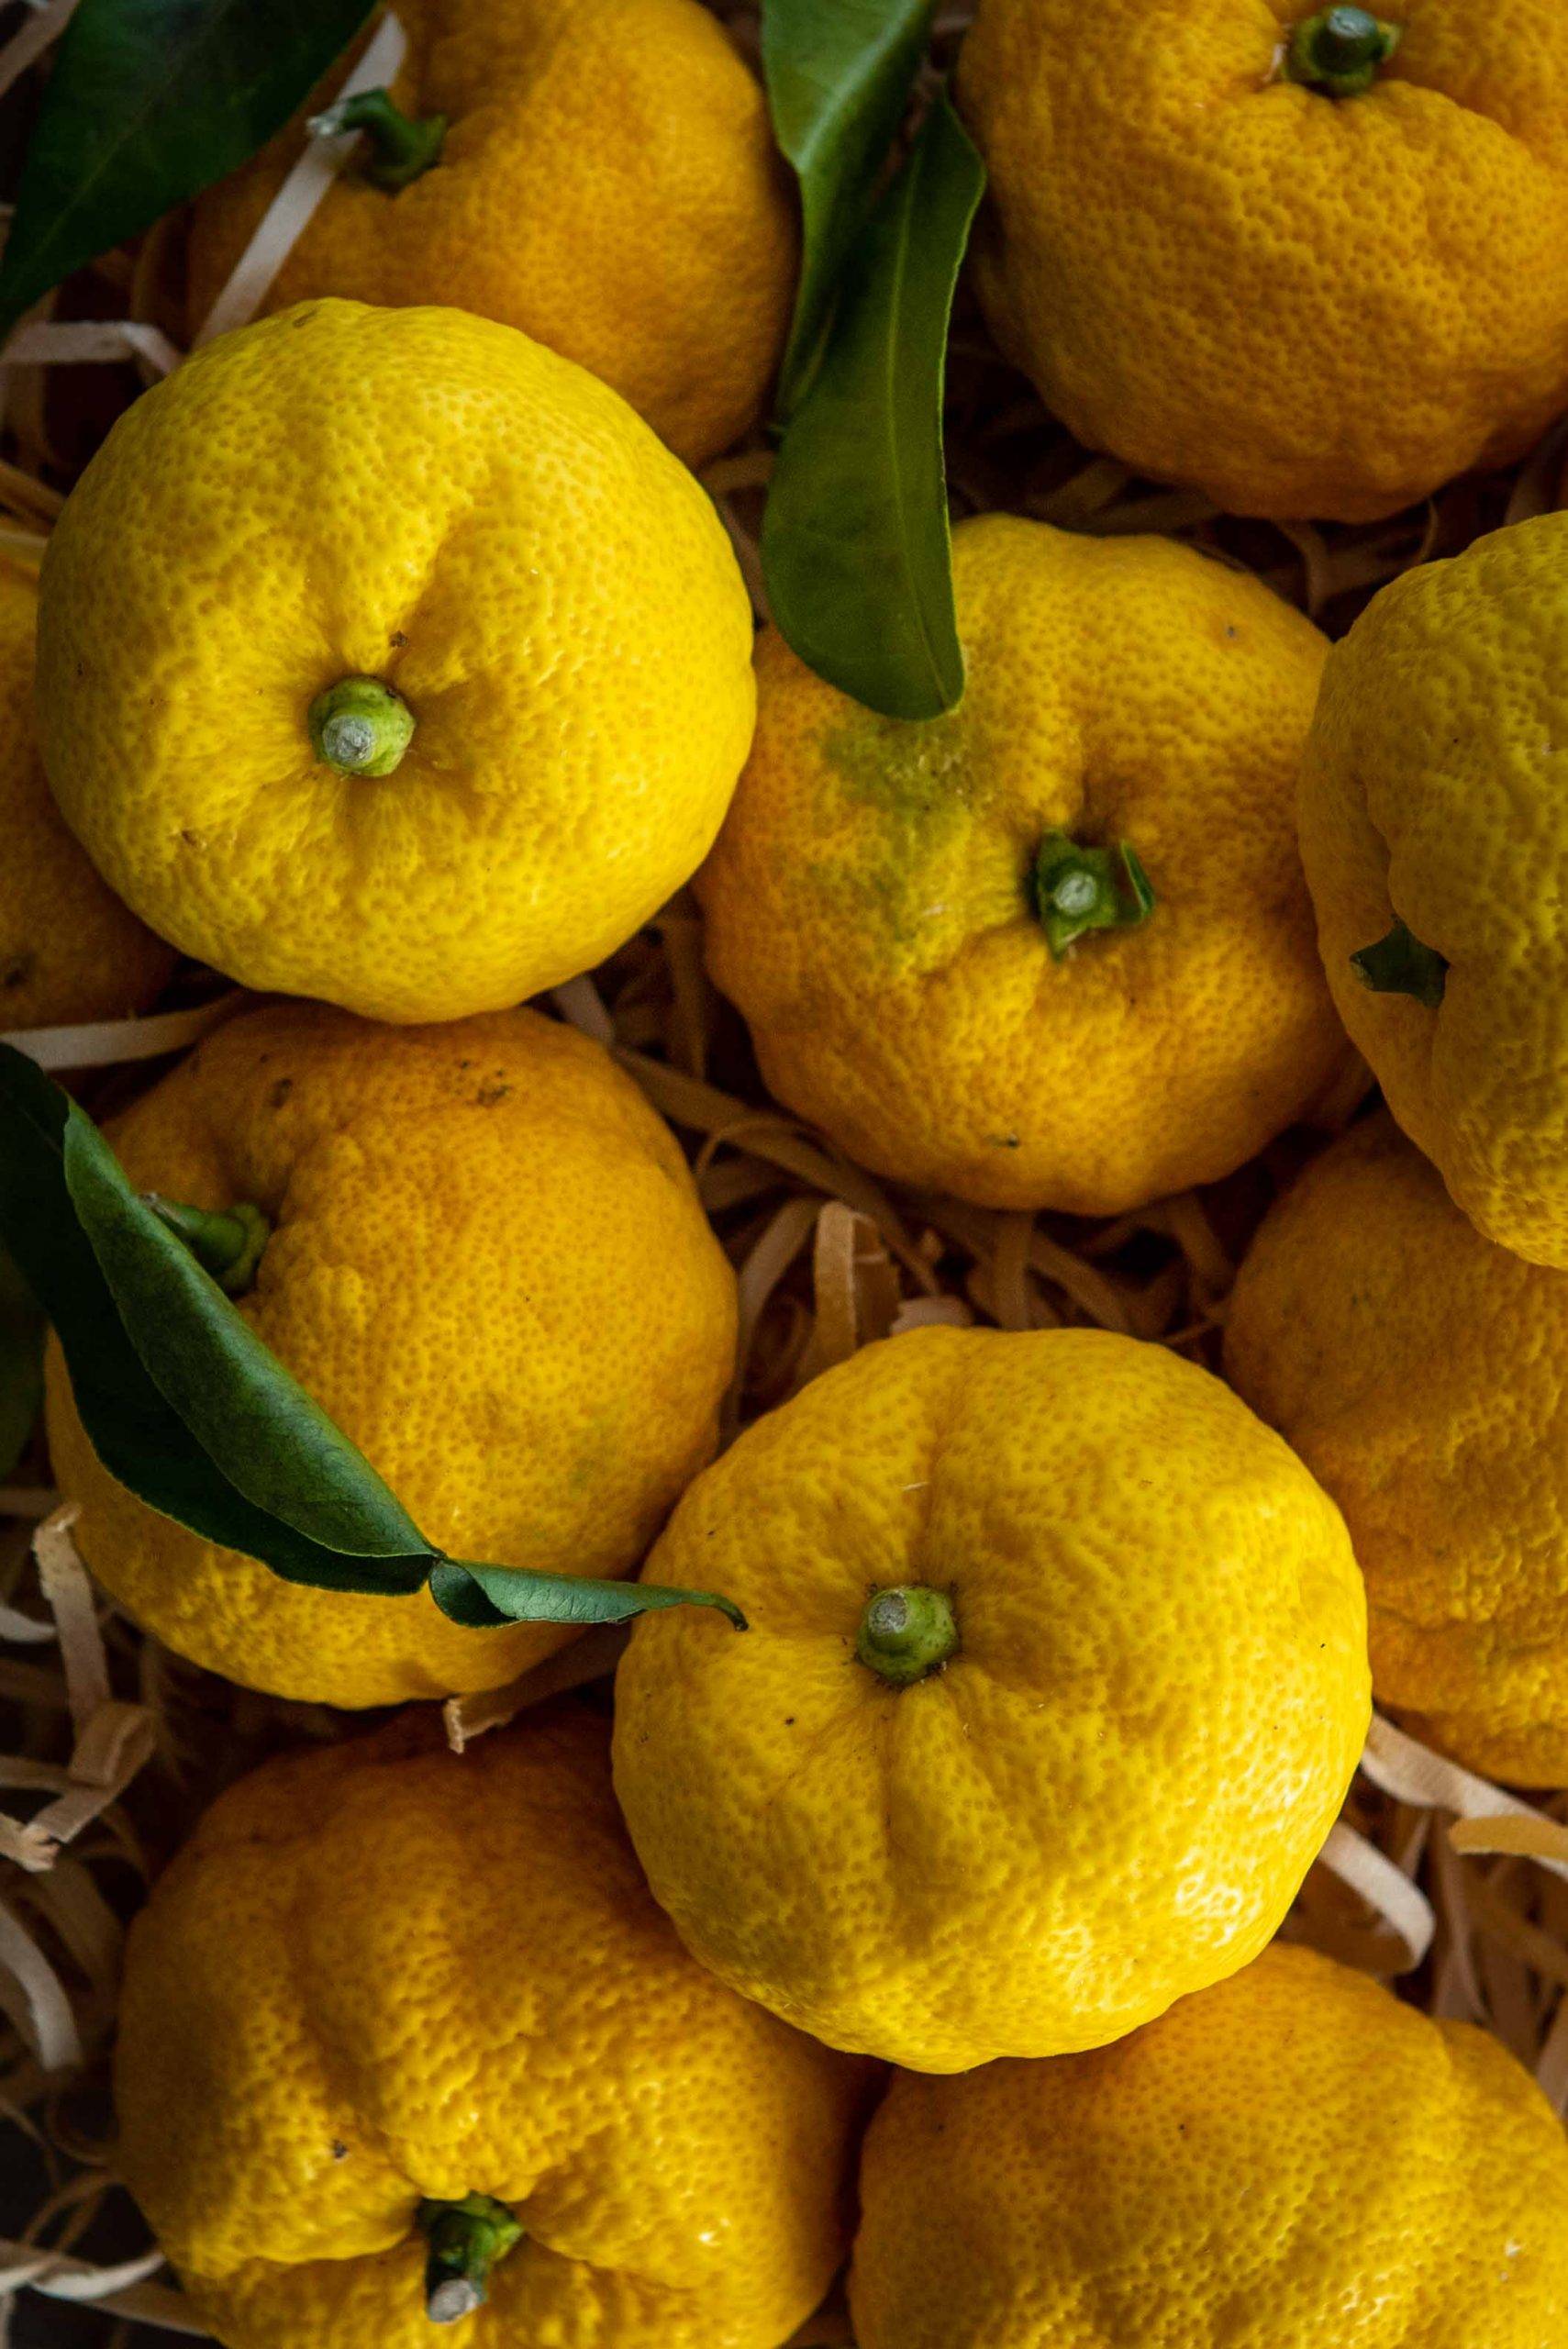
When I realised that we had a yuzu grower here in Australia, I got next level excited. Yuzu is one of my all time favourite citrus and I had never had the opportunity to try cooking with fresh yuzu, so I got in touch with Mountain Yuzu and they let me buy a batch of 15 fresh yuzu. When they arrived I popped them in the fridge for a few days while I decided exactly what to make with them.
A little about yuzu to start. Firstly, yuzu isn’t actually a lemon it is an entirely different citrus. A sour and highly fragrant citrus, it certainly references a lemon but has mandarin like qualities (certainly in shape) and is almost herbal in fragrance. Most commonly linked to Japan, yuzu originated in East Asia and is also found in Chinese and Korean cuisine.
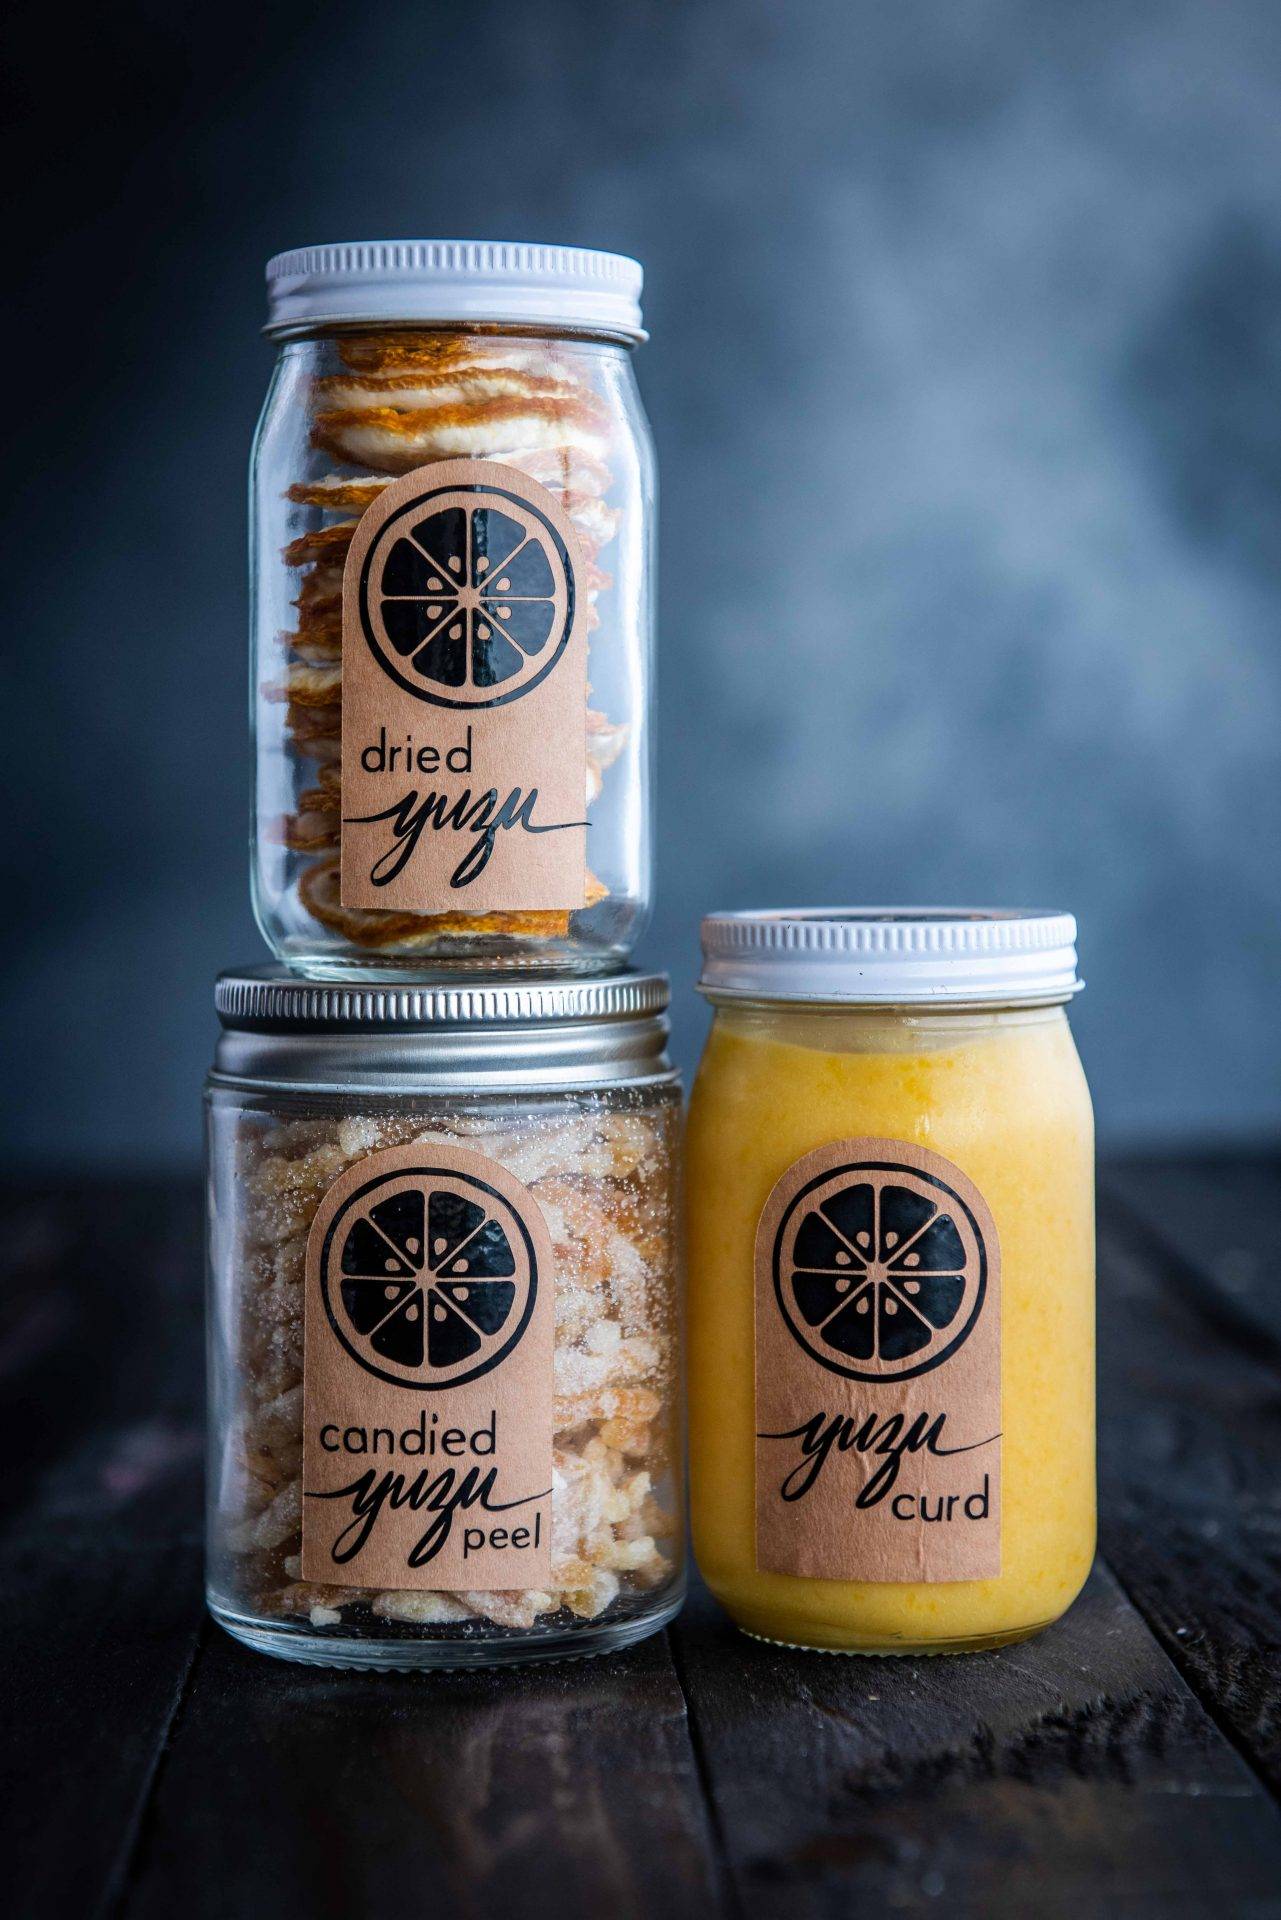
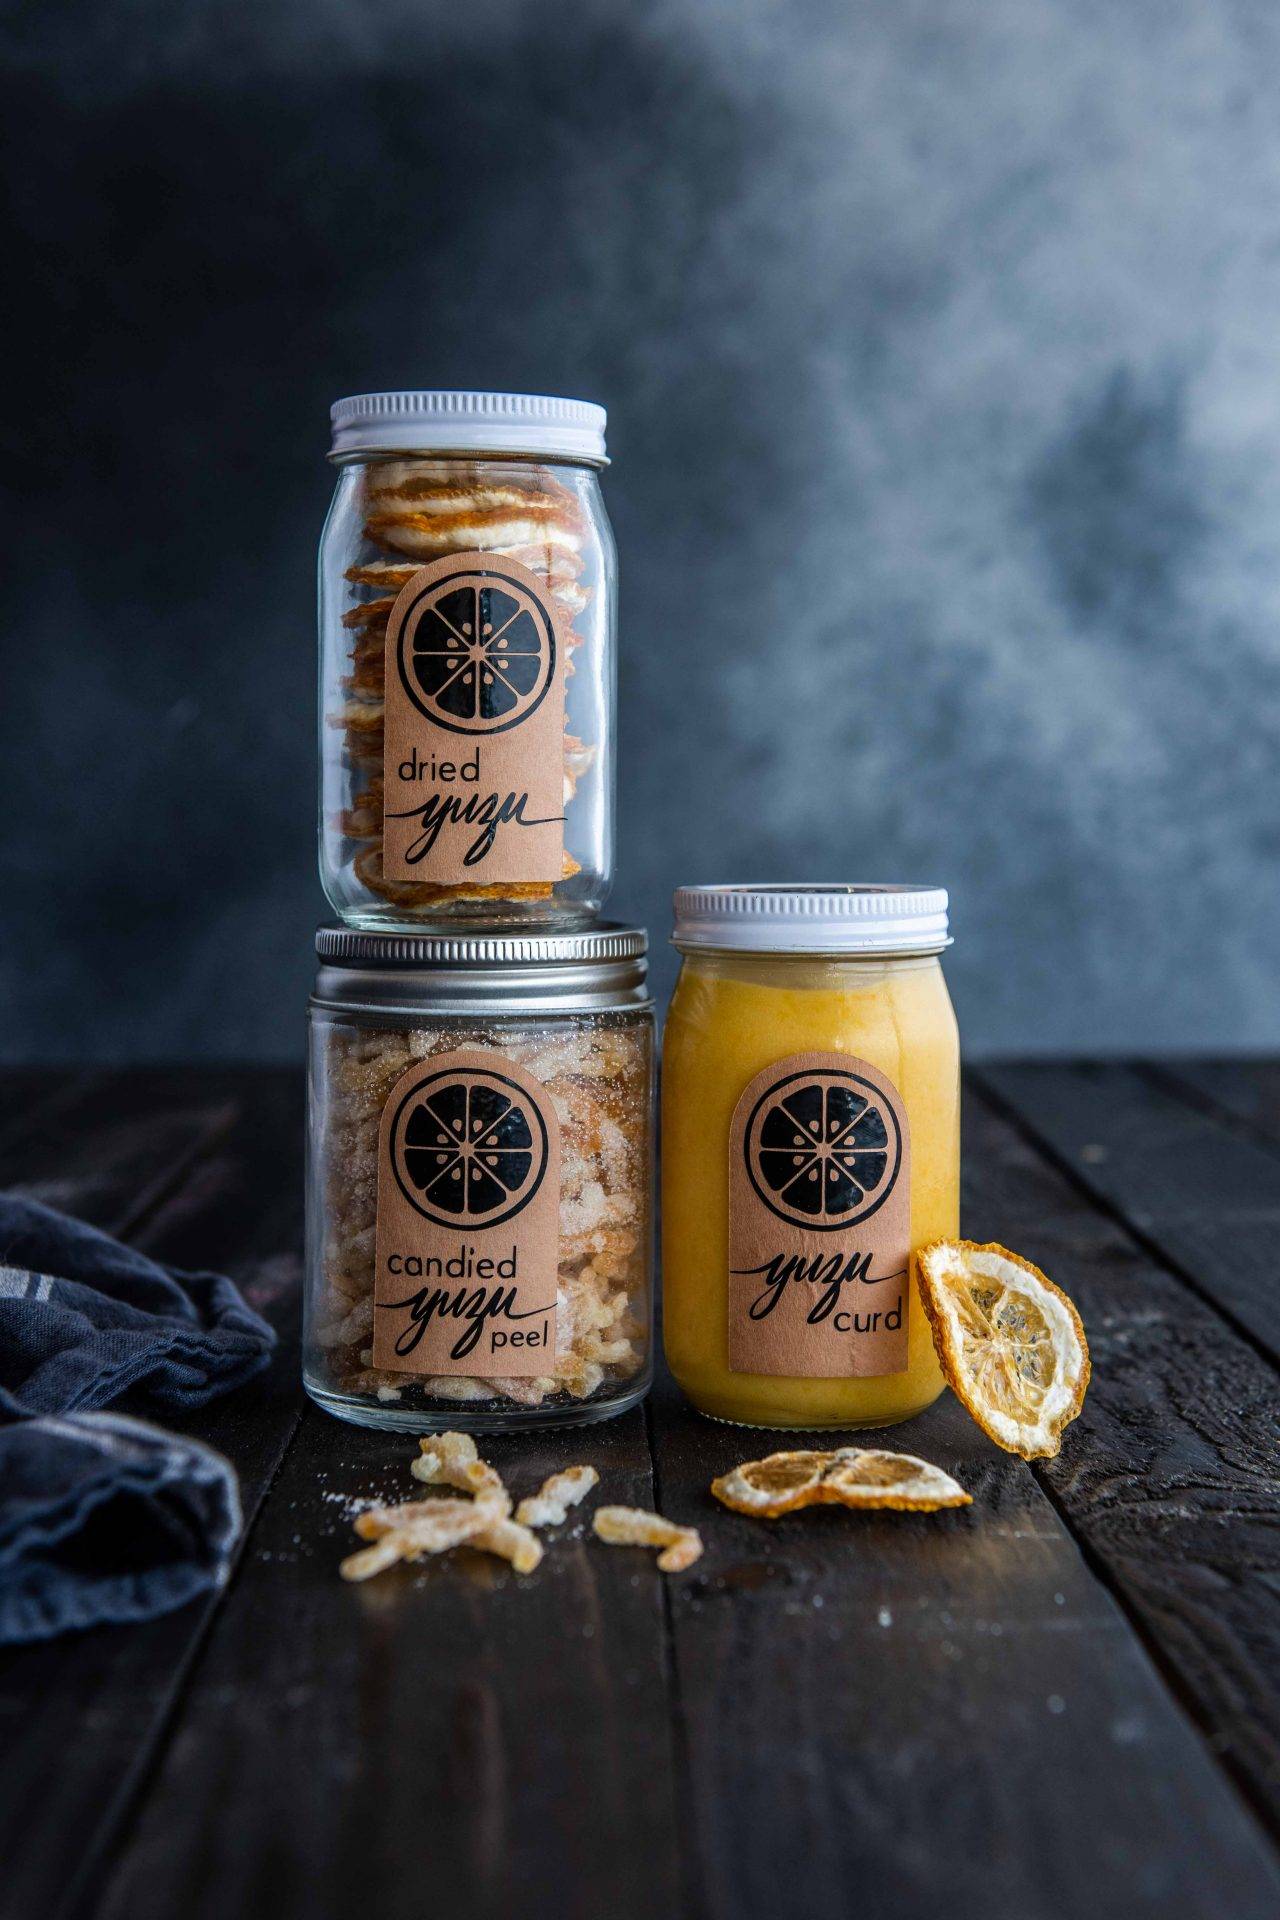
When the yuzu arrived they were so precious to me that I wanted to make sure that I used every skerrick of the fruit that I could. This led me to create the following three staples that preserved the fruit long term to ensure I could keep eating it for the next few months. I didn’t get too creative or adventurous in the first instance, I opted for dried yuzu slices (any self respecting cocktail lover would have made this choice too), candied yuzu peel and yuzu curd.
Candied yuzu peel can be eaten directly from the jar (trust me on this one), or eaten with the ends dipped in chocolate and set. Anywhere you would use any sort of candied peel you can use the yuzu peel – on top of a milk chocolate ganache tart, in an Italian cannoli, in biscuit or shortbread dough, or on top of a pavlova.
For the curd, a yuzu meringue tart comes to mind straight away, or as a layer in parfait, as a layer cake filling, in icecream, wrapped up in a crêpe or wherever you would use a lemon curd.
If you are wondering what I used these 3 variations for stay tuned because next week I’ll share my recipe for a layered yuzu sponge cake which uses the curd, candied peel and dried slices!
Yuzu Curd
Ingredients
- 4 large egg yolks
- 100g caster sugar
- 70ml fresh yuzu juice
- Zest from 1 fresh yuzu
- 70g unsalted butter, cut in 1cm cubes
Directions
Bring a small pot with 4cm of water to a rapid boil then drop to a simmer. In a metal bowl combine egg yolks, caster sugar, yuzu zest and yuzu juice and whisk. Place the bowl over the pot of simmering water and cook, whisking continually as the curd begins to thicken and then continue to cook while whisking for 6-8 minutes or until the curd mixture resembles a thick hollandaise sauce.
Remove from the heat and add the salt and butter and stir until the butter has melted and incorporated into the curd. Transfer the curd to one or two jars depending on their size and set aside to cool. Once cooled, transfer to the fridge. The curd will keep in the fridge for up to two weeks.
Candied Yuzu Peel
Ingredients
- Fresh yuzu
- Caster sugar
- 1 tbsp yuzu juice
Directions
For this recipe you can make as much or as little candied yuzu peel as you like depending on the amount of fruit you have access to. I didn't want to stipulate an amount because I know this fruit can be hard to come by. I ended up using the peel of about 4-5 yuzu for a large jar of candied peel.
Wash and dry your fresh yuzu well to ensure the skin is completely clean as that is the part you will be using. Cut the yuzu in half and juice the fruit. Set aside 1 tbsp of the juice for this recipe and keep the remaining juice for yuzu curd, a vinaigrette or any other use. Discard the seeds and any membrane and then remove a little of the white pith. The more white pith you remove the less bitter the resulting candied peel will be but bear in mind we will blanch the pith a few times which will also remove bitterness, so for texture I like to leave a some of the white pith on the peel.
Place the juiced halved yuzu peels in a large bowl and top with boiling water to cover. Allow to sit for 2 mins then drain the water from the peels and repeat another two times. The third time you cover the peel in boiling water leave it in the water for 3-4 hours (or overnight).
Drain the yuzu peel from the final water bath well without squeezing the peels. Slice the peels thinly into strips about 3-4mm thick and then weigh the peels on a kitchen scale. Measure out 1/2 the weight of the peels in caster sugar and place the sugar in a large frypan with the peel strips and set it aside for 10 minutes.
Place the frypan over a low heat and add 1 tbsp yuzu juice. As the peel and sugar heats it will start to release moisture. Essentially you want to both get rid of as much moisture as you can from the blanching stage (which was done to get rid of any bitterness) and ensure that the sugar infuses through the peel. You want to simmer it until there is almost no moisture at all left in the pan (the time it will take will differ depending on the amount of peel you began with).
After that transfer the peels to a baking tray and spread them out as much as you can to cool. Once cooled, toss the peels in caster sugar and place in your dehydrator on medium for 8-10 hours until they have dried completely.
If you don't have a dehydrator, you can toss them in sugar and then leave them on lined baking trays on your bench top during summer for a few days turning them over every now and again, or you can try placing them in a very very low oven until they have dried.
Dried Yuzu Slices
Ingredients
- Fresh yuzu
Directions
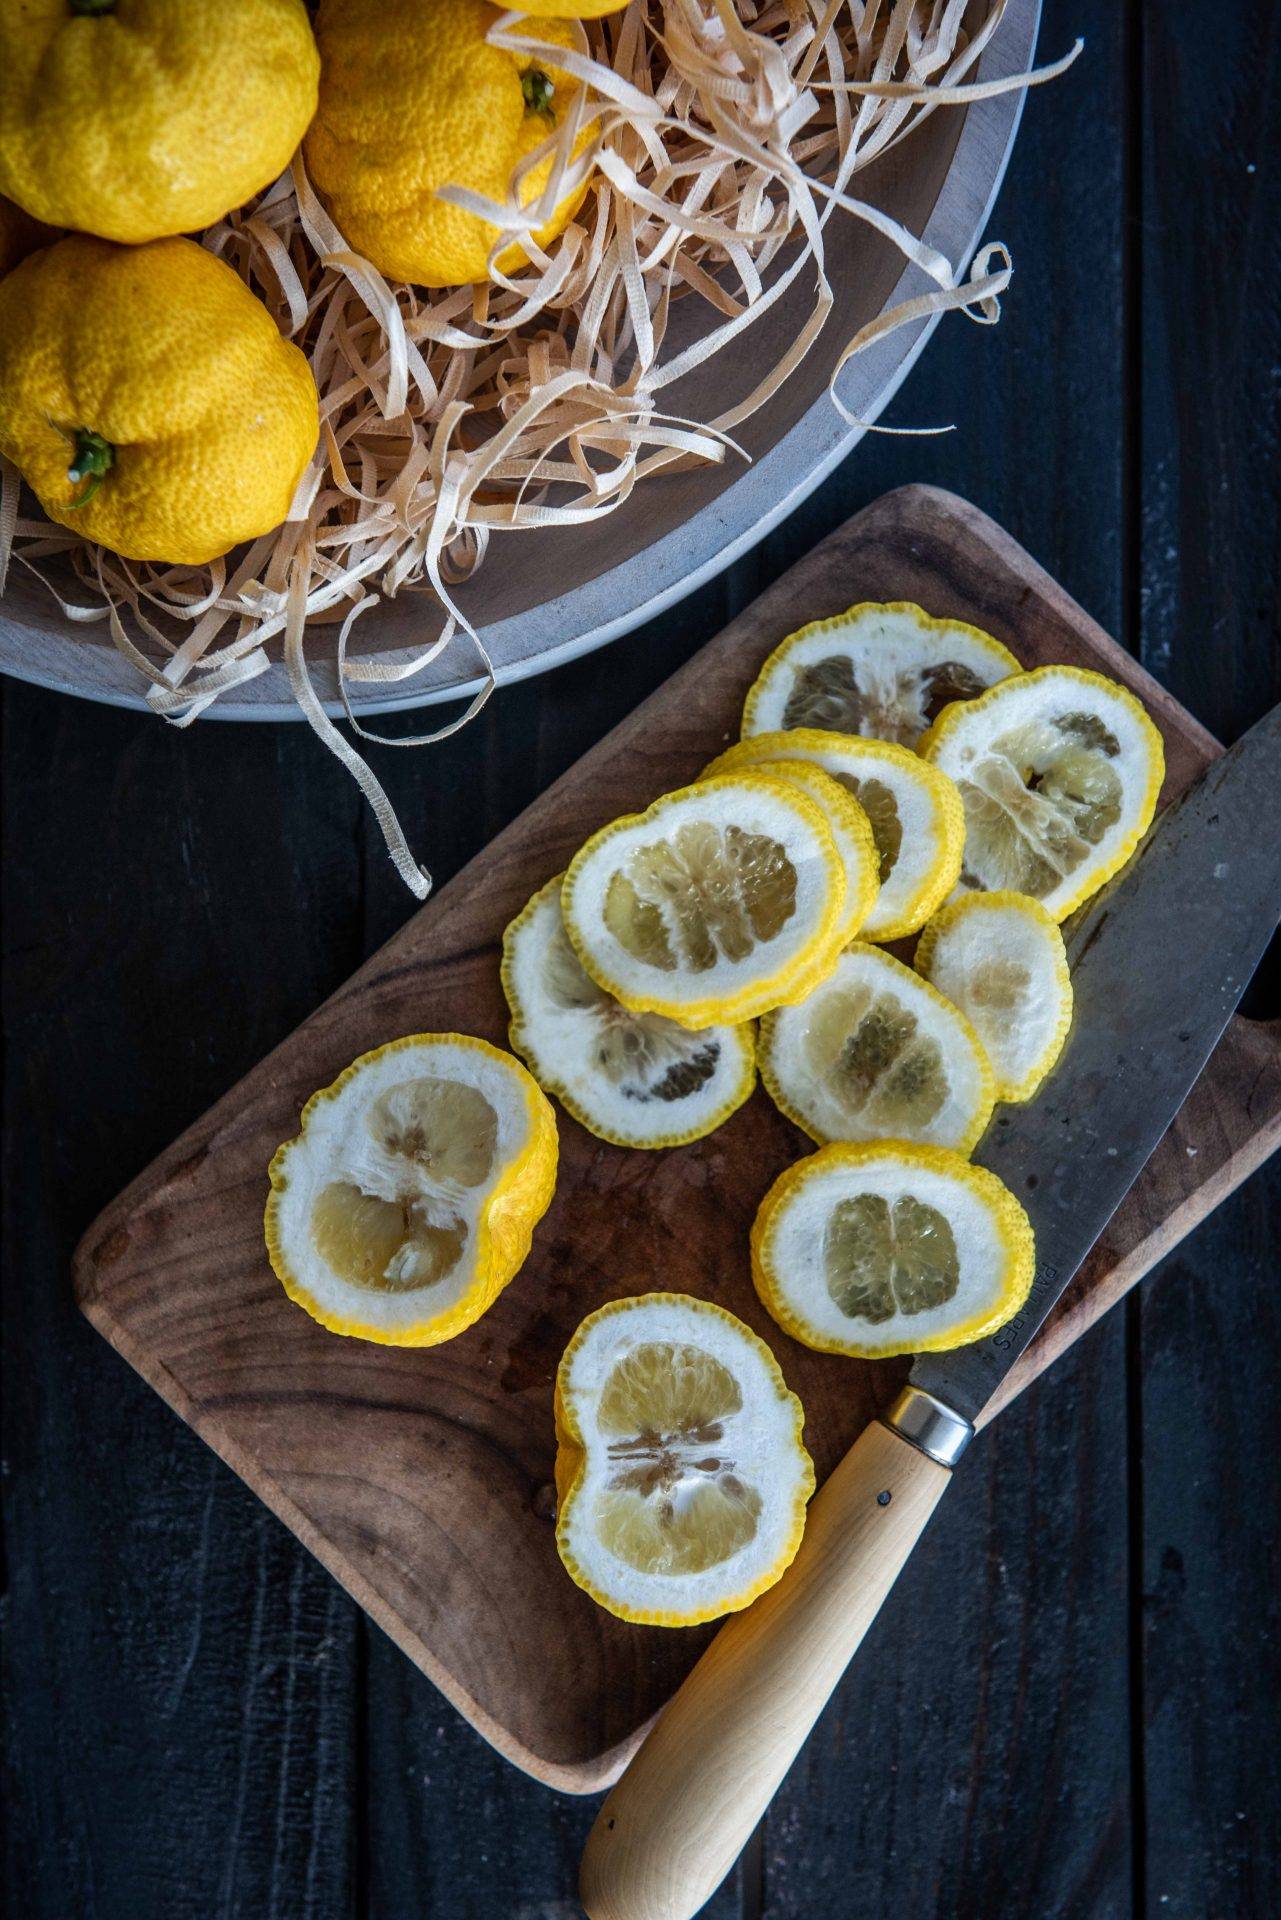
We don't really need a recipe here, I just sliced the fresh yuzu as thin as I could using a chef's knife and then placed the rounds in my dehydrator and left them in there on medium fan until they had dried out completely. It only took a day of cooking in the studio until the slices were completely dried so it would take only 8-10 hours. Citrus dehydrates quite quickly so its one of my favourite things to do with citrus.
If you don't have a dehydrator, then you can do this in your oven, just ensure your oven is as low as it can possibly go, if your oven's lowest temp is 100°C it is probably too hot and would be best in an oven that's lowest temp is 45°C.
For those wondering, the dehydrator I use is this Cuisinart Food Dehydrator.

