I’m keyboard tapping from outside Sydney today as I’ve travelled home to Western Australia to spend some time with the family. What started as 10 days relaxing and spending time shooting the breeze with my parents and brother’s family has turned into an epic layer caking making feat. It’s my own fault really… I just can’t help myself.
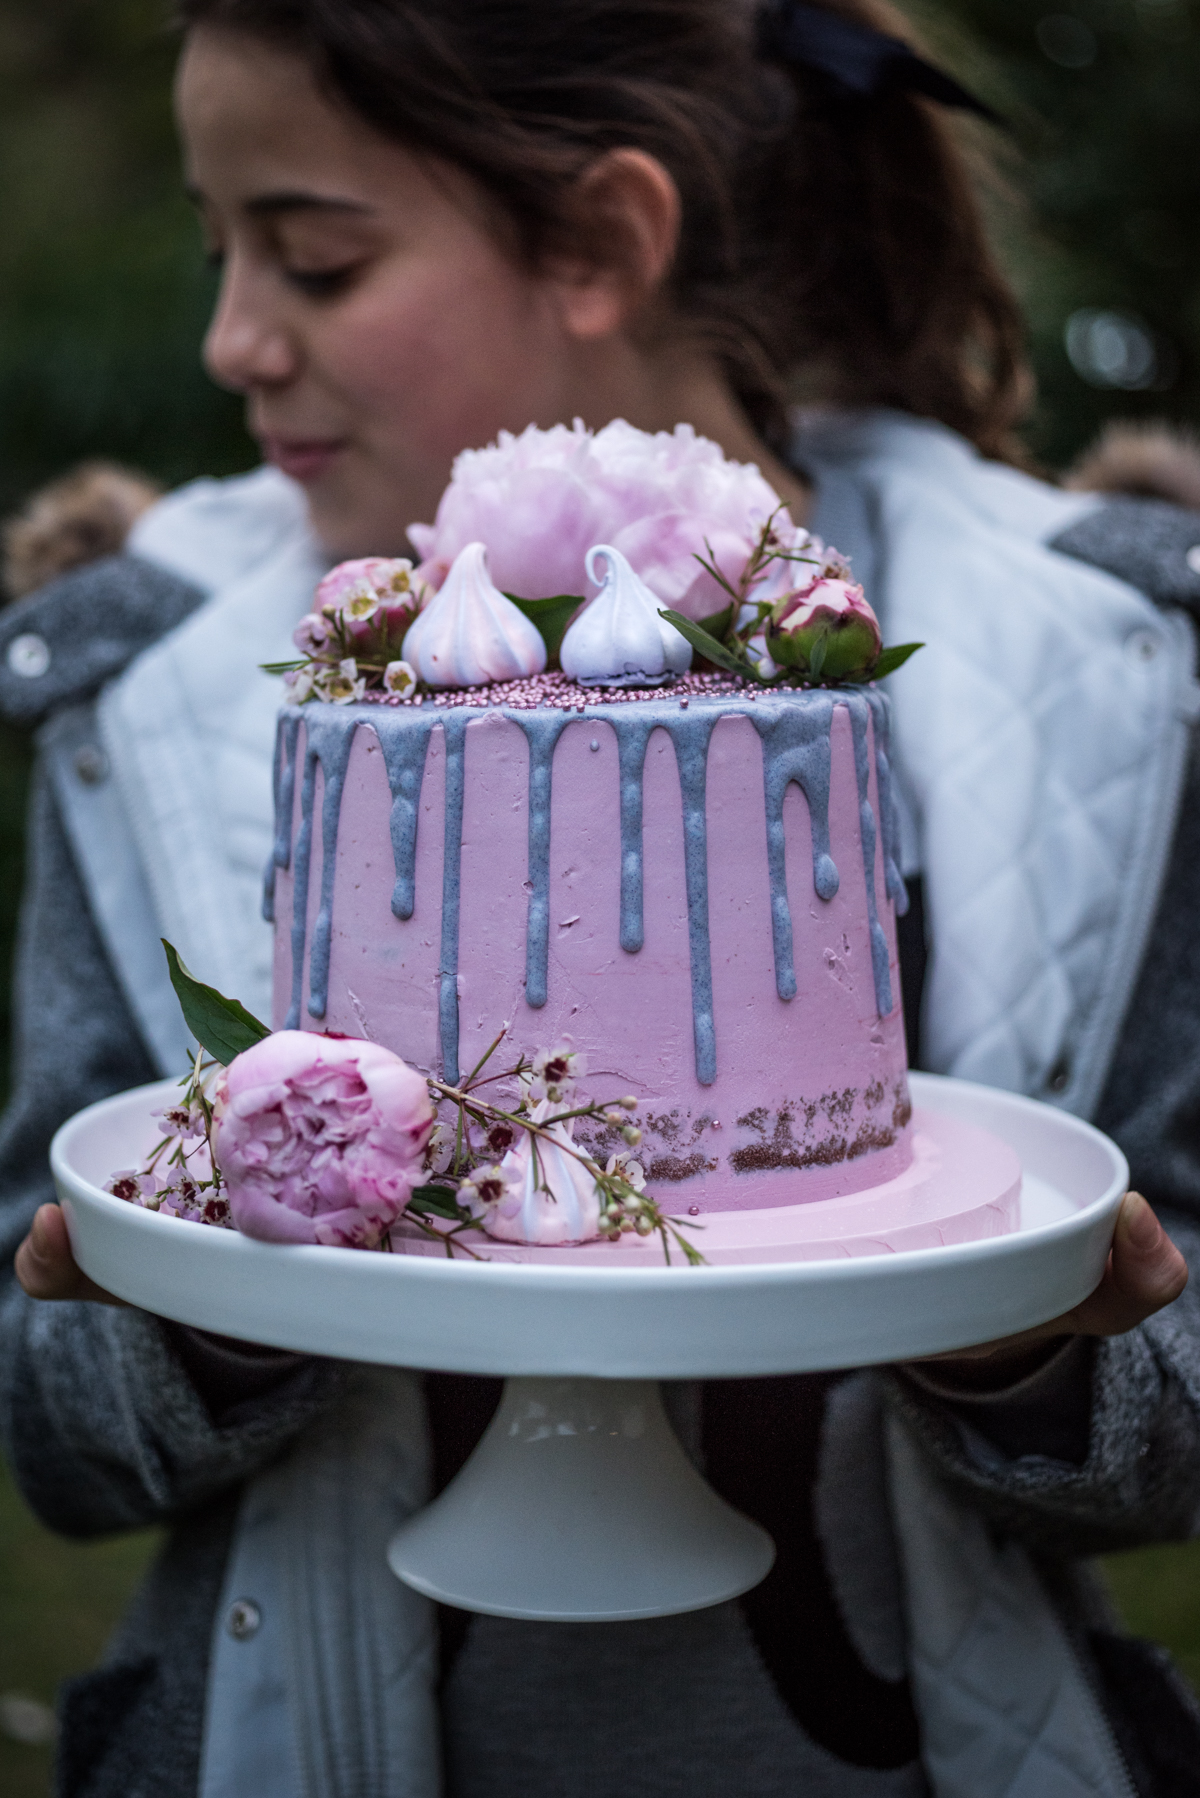
I arrived a few days ago, just as my 14 and 9 year old nieces began school holidays. Promising to spend the day with them, I hadn’t really considered what we should do. It was a blustery cold and rainy day so it soon became apparent that we needed an indoor activity that was going cheer us up from the wintery doldrums. There was only one thing we could do – design and make an epic raspberry vanilla layer cake!
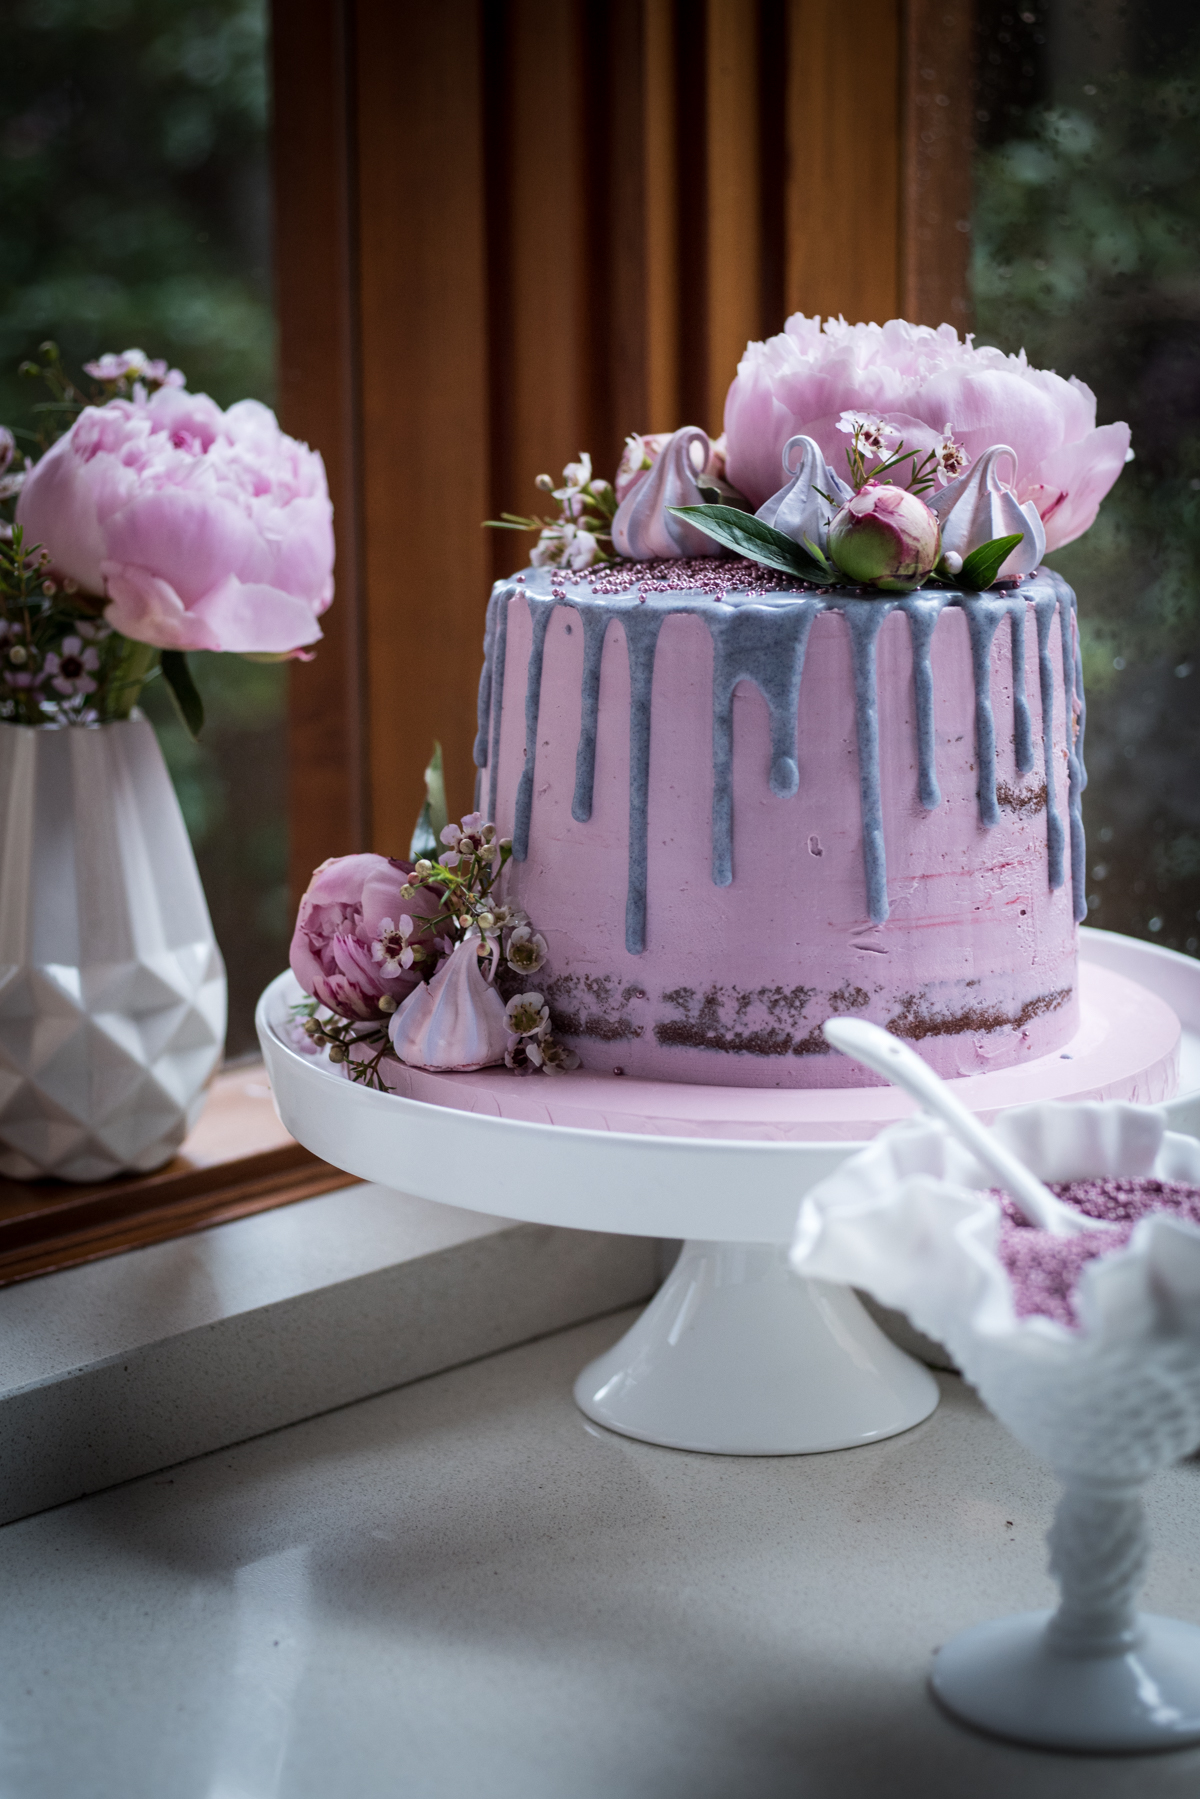
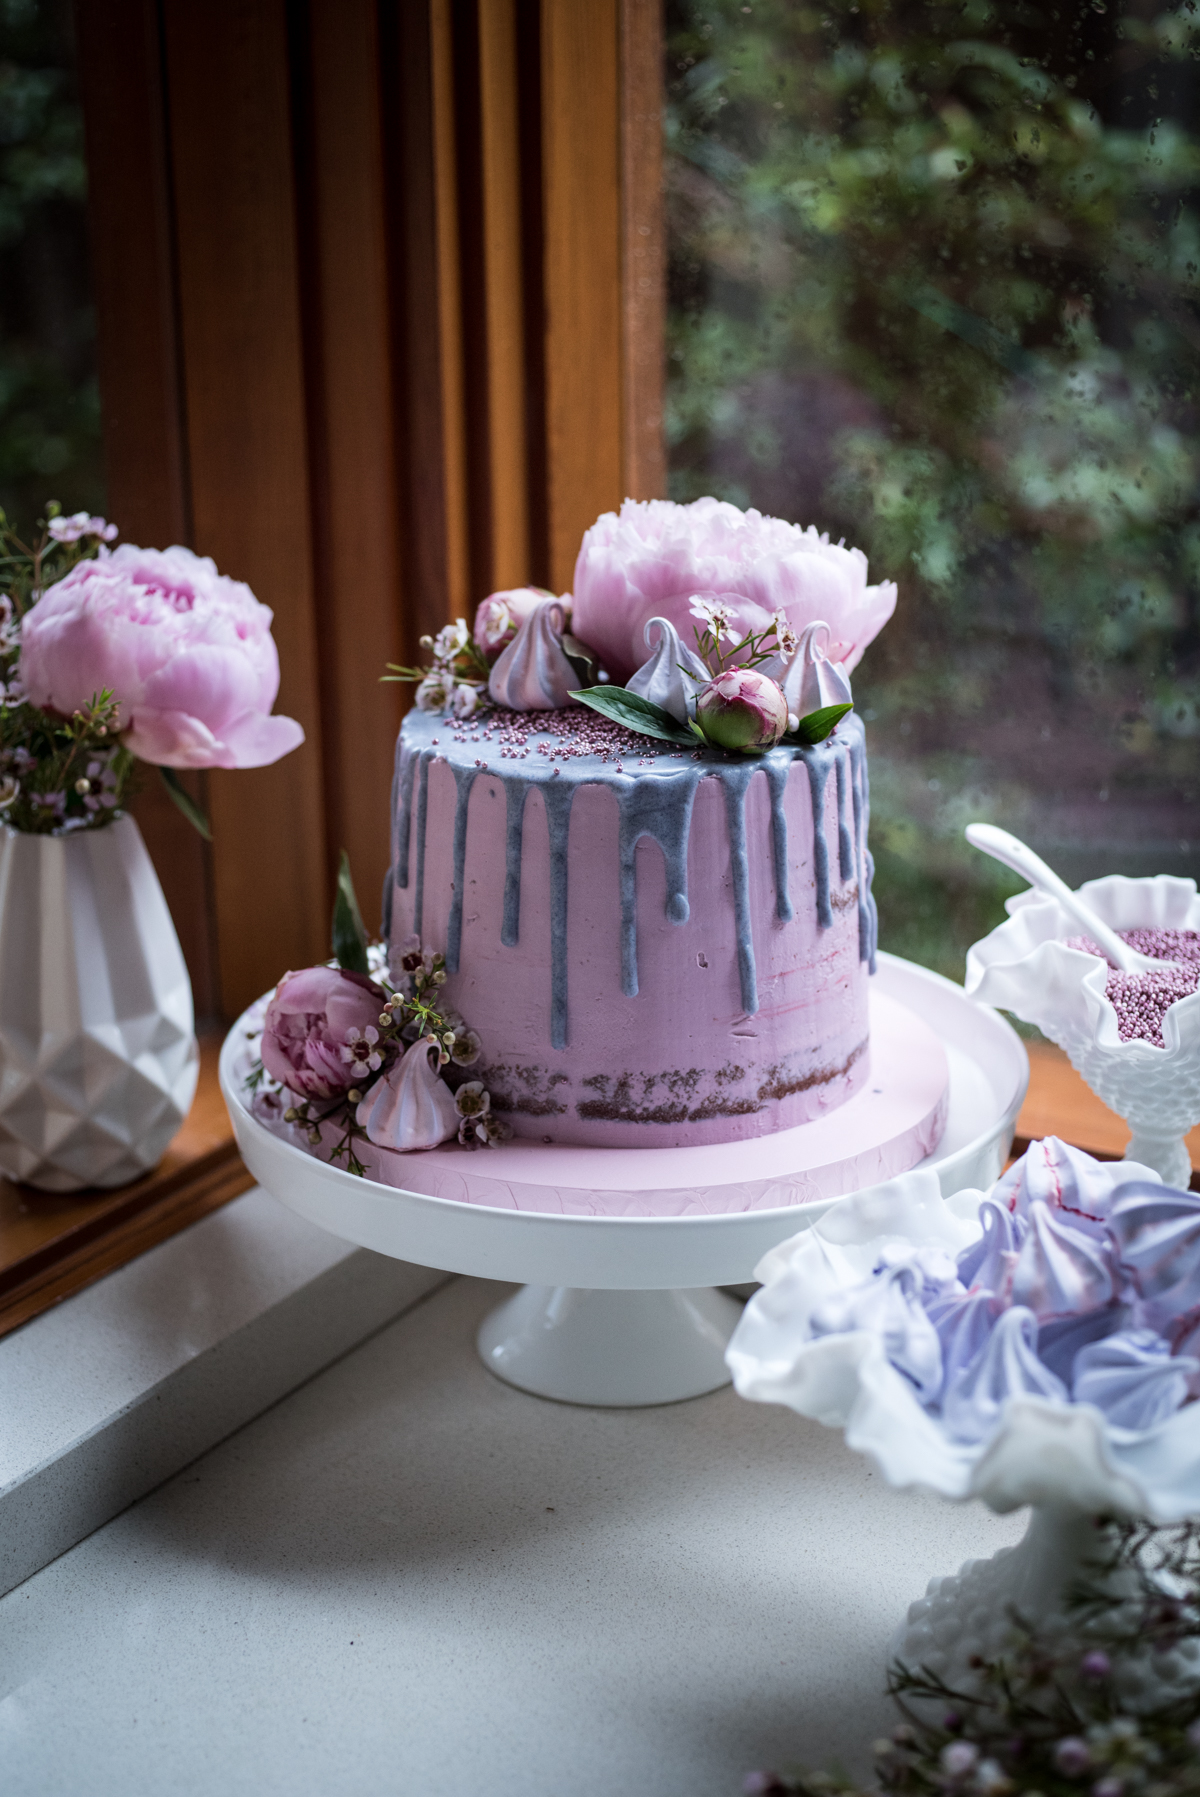
The three of us sat down and looked at oodles of cake pictures online and began to talk through what styles everyone liked best. We decided pastel was the colour scheme du jour and we simply must have gorgeous flowers and meringue kisses.
After talking through our design, the littlest one sketched out the cake and we headed to the nearest cake decorating shop. The visit quickly became a lesson in how to lose children quickly. Luckily if you followed the squeals of delight at all the edible treats, you could find them.
While we knew what colours and flavours we wanted the cake to be, we kept our minds open with regards to the flowers. Swinging past the florist we spied some gorgeous peonies and a smaller native flowering bunch and snapped them up.
Cake baking is a great lesson in patience as cakes need to cool completely overnight before icing them. So, we baked the cakes, made the buttercream and ganache and baked the meringue kisses that day. Then we let everything cool and got up nice and early the following day to put it all together and enjoy a delicious pastel dream morning tea!
It is a lot of effort making a cake like this… and it is not for everyone. So, while some of you might feel the desire to give it a go (go for it!), those of you who don’t shouldn’t feel bad. You can admire the photos and then pop to the patisserie for a tart! Bon appetit!
Raspberry Vanilla Layer Cake
Ingredients
Raspberry Vanilla Cake
- 170g unsalted butter, room temperature
- 300g caster sugar
- 180g sour cream
- 1 tablespoon vanilla bean paste
- 6 large egg whites, at room temperature
- 2 1/2 cups plain flour
- 1 tablespoon baking powder
- 1/2 teaspoon salt
- 3/4 cup milk, room temperature
- 1/4 cup water, room temperature
- 2 teaspoons raspberry essence
- Pink gel food colouring
White Chocolate Ganache
- 180g white chocolate, chopped
- 1/3 cup thickened cream
- Lilac gel food colouring
Assembly
- Pink Buttercream, see method for recipe link
- Pink and Lilac Meringues, see method for recipe link
- Peony flowers
- Edible lilac balls
Directions
RASPBERRY VANILLA CAKE
Preheat oven to 180° Celsius (350° Fahrenheit). Grease and line two 16cm round cake tins with baking paper and set aside.
In a stand mixer, cream together butter and sugar for 6-8 minutes, scraping down the sides of the bowl halfway through, until the mixture is fluffy and light in colour. Add sour cream and vanilla bean paste and mix until combined. Add half the egg whites and mix well for 2 minutes, then add remaining egg whites and mix again.
In a separate bowl combine the flour, baking powder and salt and whisk to combine. Then in a pouring jug combine the milk and water.
Add half the flour mixture to the stand mixer and mix until well combined. Add all the milk mixture again mixing well, then add the remaining flour mixture and mix one last time until it is all evenly combined. You will need to scrape the bowl down at various intervals during this process to make sure it is all combined. Add the raspberry essence and the pink gel food colouring until the batter is as pink as you desire, mix until evenly coloured.
Divide the batter evenly between the two prepared cake tins and bake for 50 minutes until a skewer inserted comes out clean. Once cooked, stand the cake tins on a cooling rack for 20 minutes before removing the cakes from the tins and putting them on a cooling rack to cool completely.
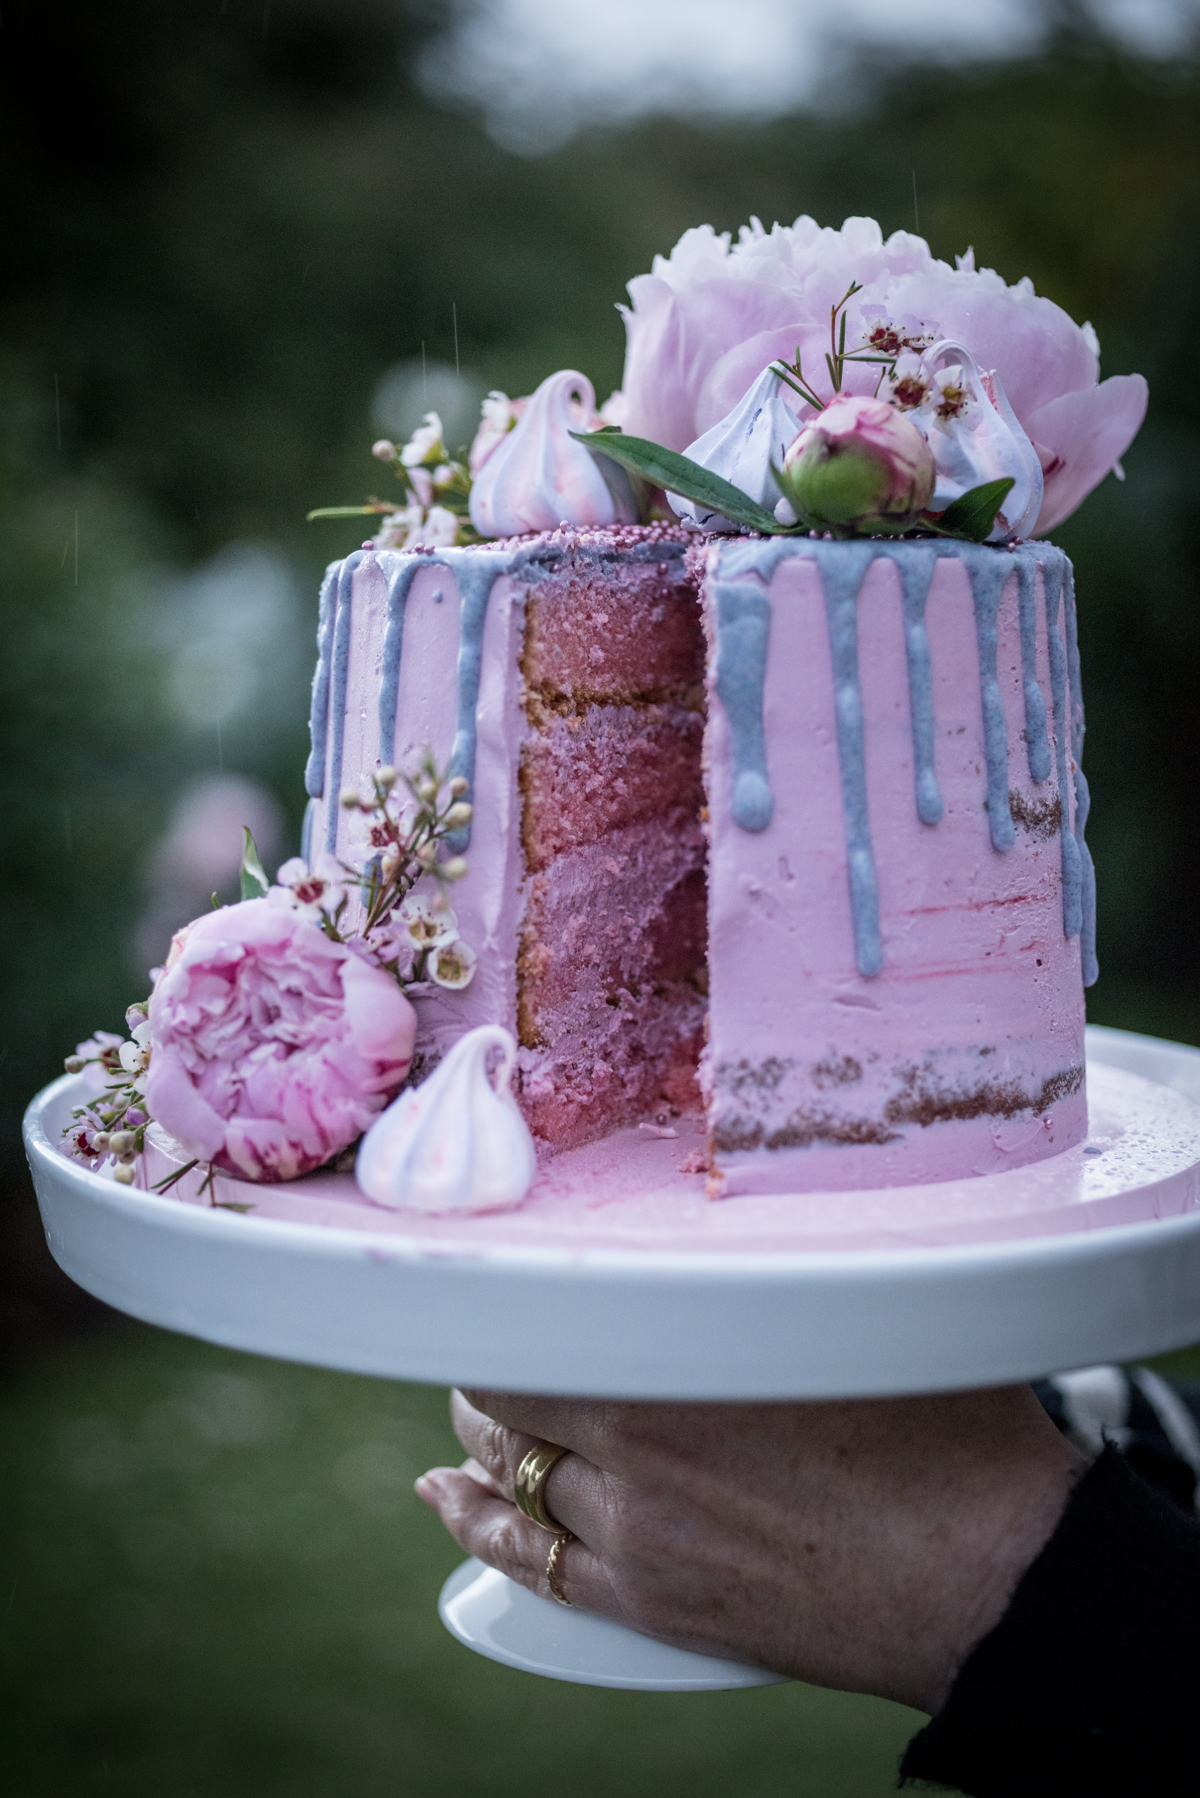
Once the cakes are completely cool (I like to leave mine overnight) use a bread knife to level the tops of the cakes and then to cut each in half horizontally so you have four round layers.
While the cakes are cooling, make the buttercream and meringue kisses.
PINK BUTTERCREAM
I used this recipe HERE for the buttercream icing and added pink gel colouring. You might want to make 1 and 1/2 the recipe to make sure you have enough to fill and completely cover the cake.
PINK AND LILAC MERINGUES
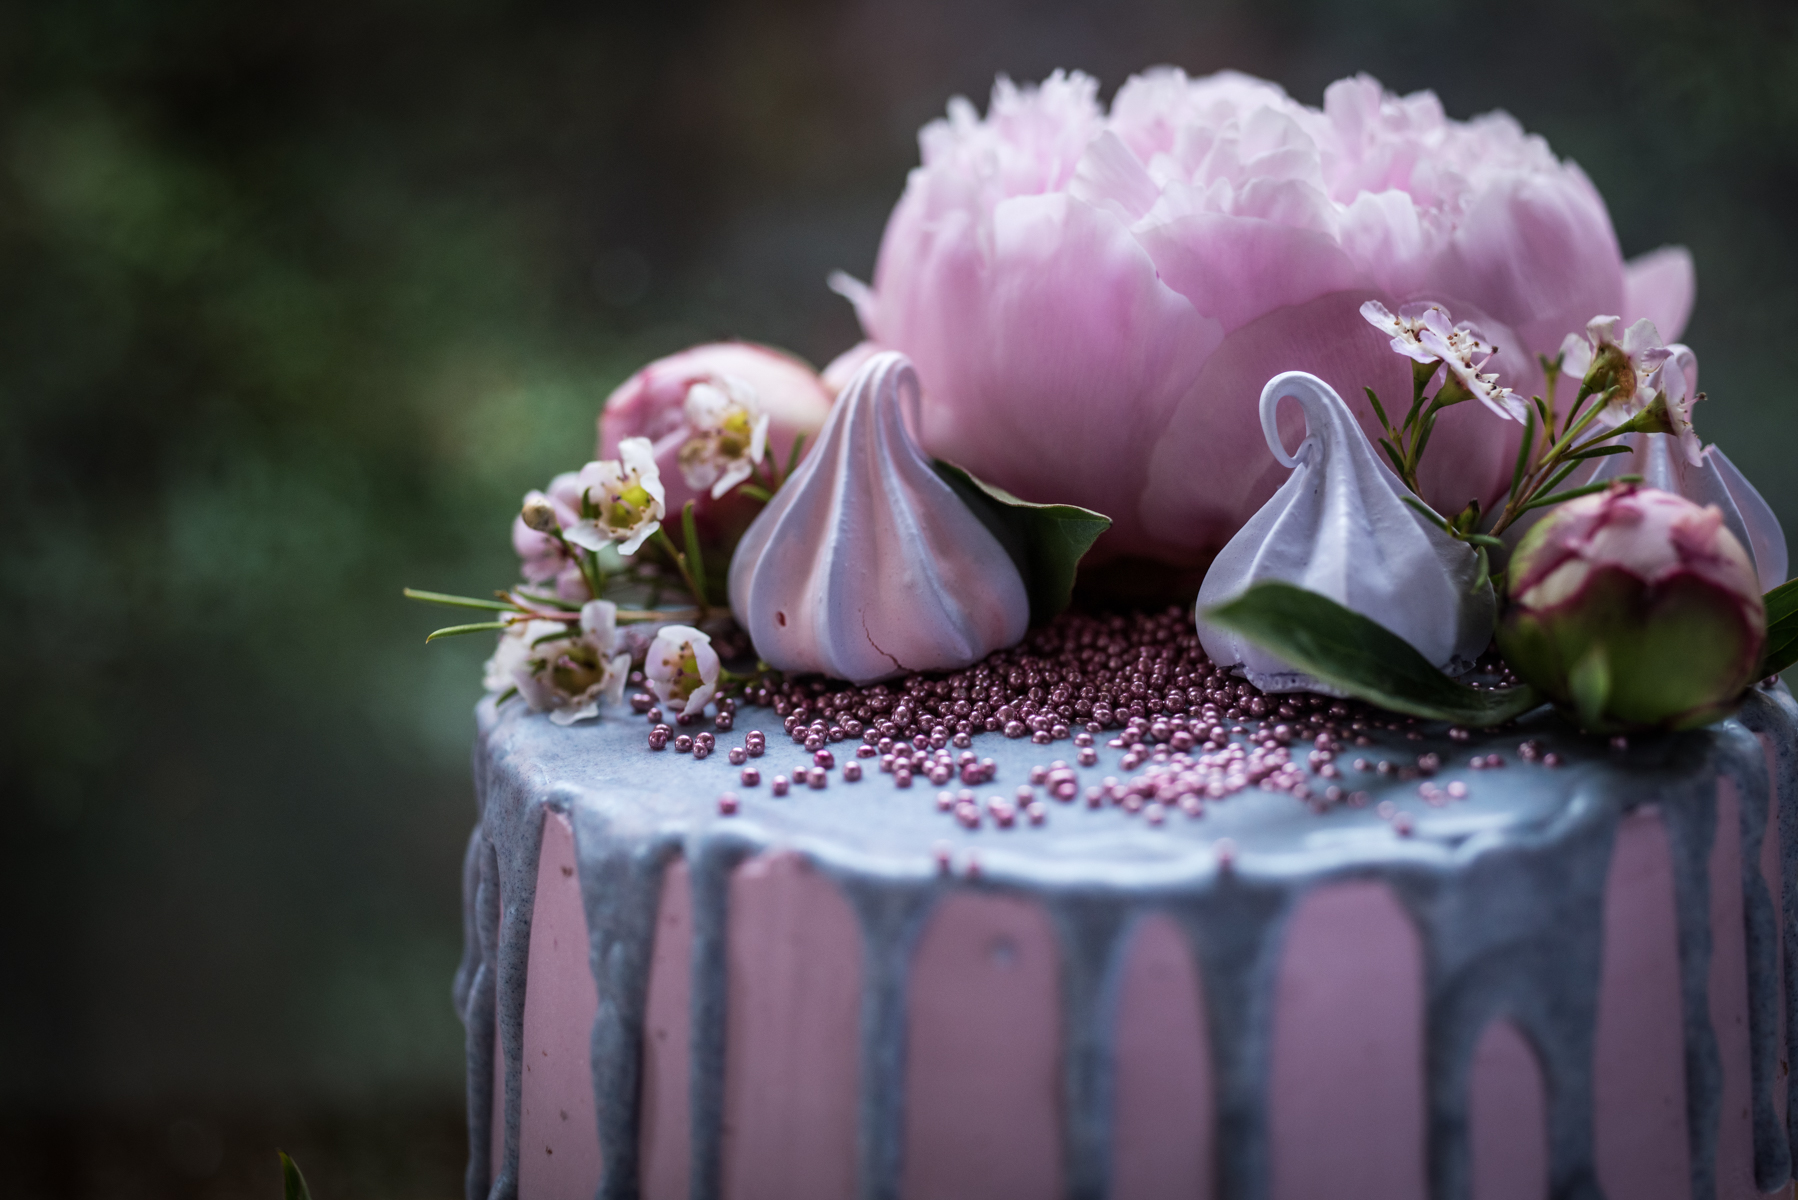
I used this Chew Town recipe but left out the peppermint extract. I made a full batch then halved the meringue and coloured one lilac and the other pink, then I piped the lilac meringues with a star nozzle first and when the bag was empty, I filled it with the pink meringue without washing the bag. That way the second meringues were lilac on the outside, and pink on the inside.
WHITE CHOCOLATE GANACHE DRIZZLE
Place chocolate and cream in a microwave-safe bowl. Microwave on medium high (8%) in one minute intervals stirring between each until melted and combined then add lilac gel colouring and stir until completely coloured.
ASSEMBLY
I advise assembling it all the day after the elements are made except the white chocolate ganache drizzle which can be made easily just before you need it.
To start, spread a little buttercream on your cake board and top with one of the four cake layers. Top with some buttercream and repeat with remaining cakes until all four cakes are stacked on top of each other with buttercream sandwiched in between each. Using an offset spatula, spread buttercream around the outside of the cake. To make my buttercream smooth around the outside I use an acrylic cake spreader.
Then make the ganache. It will set as it cools, so if you happen to have made it the day before and have stored it in the fridge, just microwave it for 30 seconds to 1 minute on 50% and it should drizzle again. I put my coloured ganache in a squeeze bottle and then gently drip my ganache down the edges of the cake and fill in the top after. Let it set slightly then top with edible lilac balls, peonies and lilac and pink meringues.
Gaze at it for a little while... then dig in!

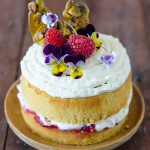


Wow! What a beautiful looking cake, you did an amazing job. I personally wouldn’t even want to cut into such a beautiful display
Thanks Charla! Lucky it was too tasty not to demolish!
That looks amazing I am always in awe of people who can bake and decorate stuff like this.
Recent Post: Instantpot Pressed Pork Belly With Port Cherries
I don’t do it often because it is such an investment of time and energy… but it is always worth it in the end.
What a beautiful cake! I love the dripping effect. This would be perfect for a fairytale themed birthday.
Thanks Dannii – it would be a great princess cake!
You are a truly awesome aunt. Your nieces must have had so much fun, designing, shopping for and creating this cake. It is a beauty.
A totally stunning cake Amanda! Love it to pieces and the colour scheme is perfect. Of course you can’t keep out of the kitchen of grabbing the camera, love it!
Recent Post: Tanuki’s Cave, the best Yakitori in Auckland
That is one beautiful cake. I wouldn’t have any idea where to start if no one told me haha nice pics too! It would look perfect for a themed party.
Wow! This is so beautiful and delicious looking, this pink colour is absolutely eye tracking, I love all of your recipes. Thanks for sharing such a wonderful recipe.