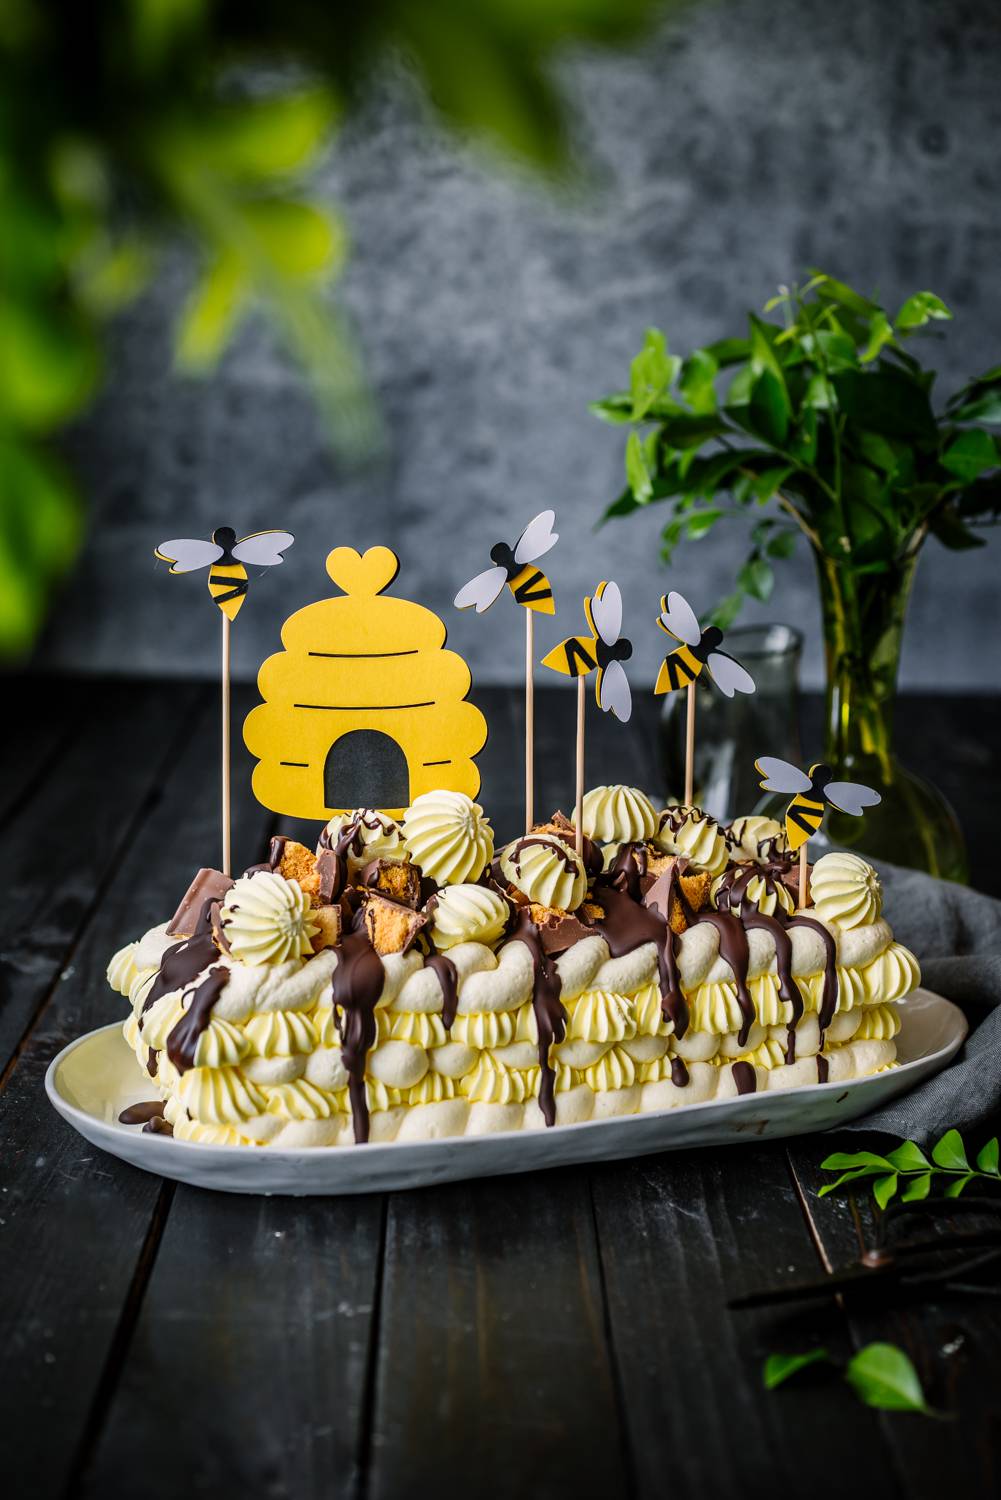
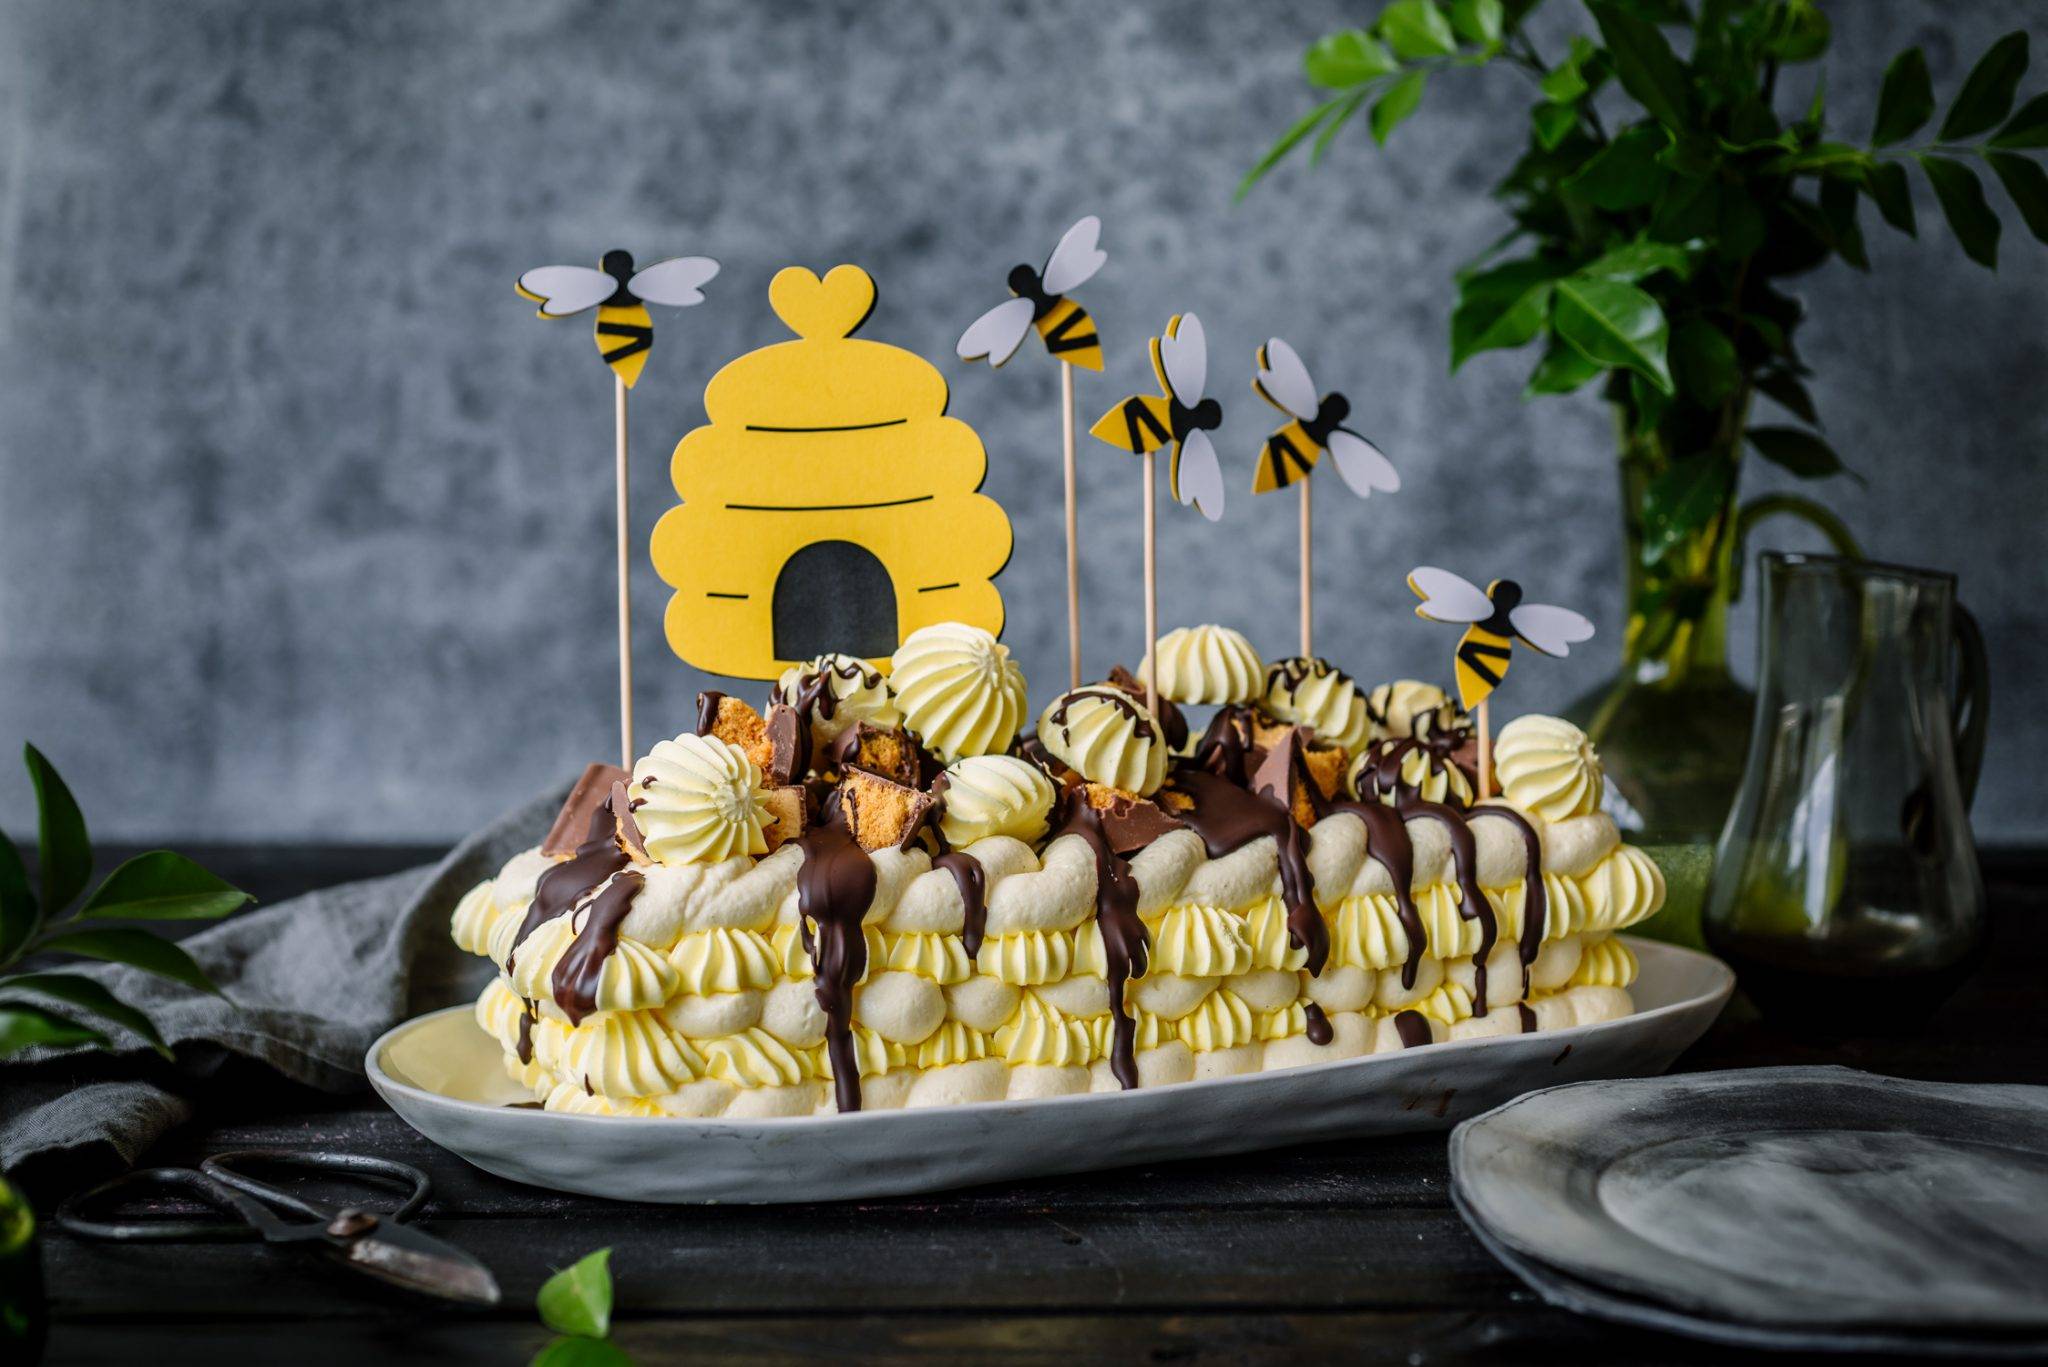
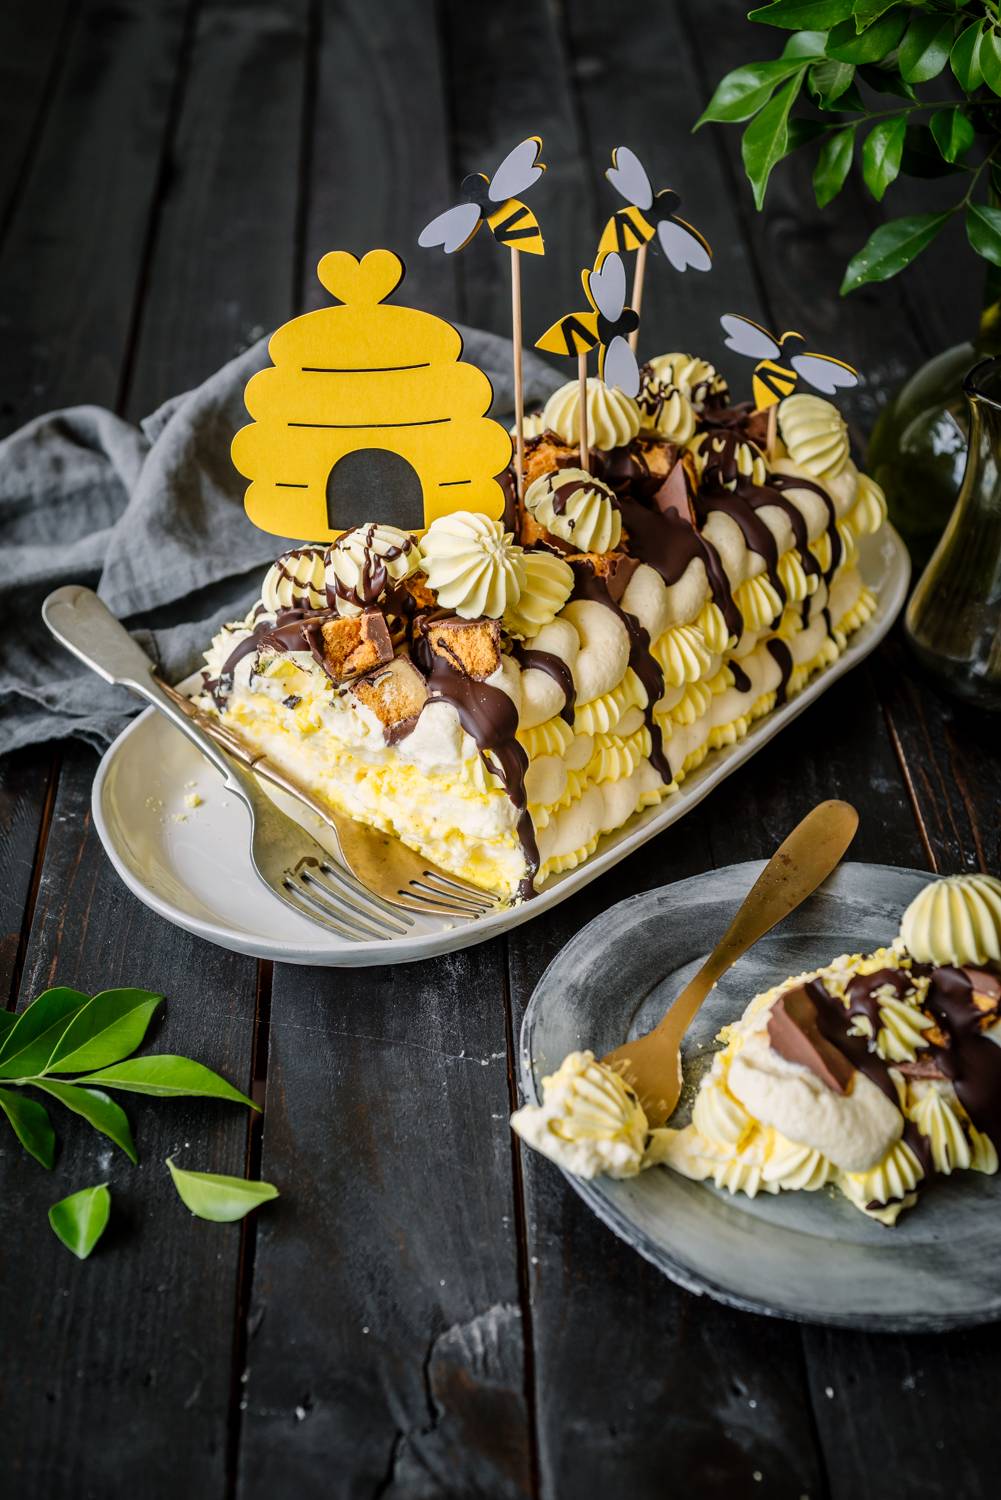
I suppose if you love to create and style delicious food, turning your hand to craft is only a matter of time. Last Christmas my husband bought me a die cutting machine. It quite rapidly became my favourite appliance in the house, superseding even the love I had for my Kitchenaid (which is still incredibly strong). My Cricut Maker cuts a whole raft of materials including vinyl, heat transfer vinyl, cardstock, chipboard, balsawood, leather… the list goes on. I now use it on a daily basis to make a plethora of things around the house but I REALLY love to use it to elevate my desserts to another level. Earlier in the year I shared a recipe for Margarita Cupcakes (seriously try these cupcakes, they are as delicious and boozy as you could imagine) which featured tiny little cactus cupcake toppers that I made myself using my Cricut machine. So today I wanted to share this honeycomb cheesecake meringue tart with a bee hive and mini bee cake topper that makes this already gorgeous dish a little more pretty.
The reason for this honeycomb dessert? Well, my little one turned two last month and we held the most epic of Bee parties for her. I used my Cricut Maker to make most of the decorations so I thought I’d share everything I made with you. But, never fear, I know a whole bunch of people are only here for the recipe, not the party shots, so lets get to the recipe quickly. After that, if you are interested in seeing the bee party decorations in actions and get some ideas if you are planning your own birthday party and need inspiration, then those shots will appear after the recipe. Look at me trying to keep everyone happy! *fist bump
It should be mentioned that Queen Fine Foods released their Meringue and Pavlova powder mix into Australia last month and after trying it I can say that it is likely I will never make meringue again. You just add water, any colouring and flavouring you want and then whip. Then you bake on a low temp and it works EVERY TIME. It also is super stiff so pipes like a dream. I really put it to the test with this meringue torte. I piped individual meringue kisses touching each other in 3 layers and it baked beautifully, holding together perfectly so I could make a layered meringue torte that looks like a true showstopper. I sandwiched that with a cheesecake cream and then topped everything with honeycomb and melted chocolate. It’s about as decadent as you can get, so you only need a slice to satisfy your serious sugar craving. I also added honeycomb flavouring to my meringue which I bought at Spotlight who have a pretty good cake decorating range.
If you have a Cricut machine and would like access to this honey bee and hive topper, click here.
Honeycomb Meringue Cheesecake Torte
Ingredients
- 1 x 300g packet of Queen Meringue & Pavlova Powder Mix
- 125ml water
- 2 teaspoons honeycomb flavouring
- Yellow food colouring gel
- 250g cream cheese, softened
- 2/3 cup icing sugar
- 2 teaspoons vanilla bean paste
- 600ml thickened cream
- 80g dark chocolate
- 1 tablespoon vegetable oil
- 120g crunchie bar or other chocolate covered honeycomb, roughly chopped
Directions
Preheat oven to 100°C and line 3 baking trays with baking paper.
Empty packet of queen meringue mix into stand mixer with whisk attachment and add water. Mix for 30 seconds then allow mixture to with for 2 minutes. Mix on high speed for 10 minutes scraping the sides down when required. Add a few drops of yellow food colouring and mix until combined. Transfer mixture to a large piping bag fitted with a large french tip.
To make the meringue layers you will need to pipe three large rectangles using a similar method to piping meringue kisses, but you want to make sure all the kisses are touching so that when the layer cooks and dries the meringues hold together in three single rectangle layers. To make all the layers the same size, use the bottom of a loaf tin and mark the shape with a marker on the baking paper ensuring that you turn the paper over before you start piping. Once the layers are piped use up any remaining meringue mixture by piping individual meringue kisses. Place all three trays in your oven and bake for 1 hour and 15 minutes. Allow the layers to cool in the oven for 1 hour before removing to cool completely.
While the layers are cooling, make the cream cheese filling. Place cream cheese in a bowl and mix until smooth. Add the icing sugar, vanilla bean paste and thickened cream and whip until stiff peaks form. Be careful not to overwhip or the mixture will become grainy.
Transfer to a large piping bag fitted with a large round attachment. Place one rectangular layer of meringue down on your serving dish and pipe swirls of cheesecake filling over the top, repeat with remaining layers and then top with individual meringue kisses and choc covered honeycomb pieces. Melt dark chocolate and vegetable oil in short increments in a microwave then drizzle over the meringue torte. Top with paper bee toppers and serve immediately.
NB: Once the meringue torte is assembled the cheesecake filling will start to affect the meringue so it is best consumed as soon as possible. Alternatively, make the meringue layers and kisses a few days before and store in an airtight container and then the cheesecake filling the day before and assemble and top just prior to serving.
SECOND BEE PARTY
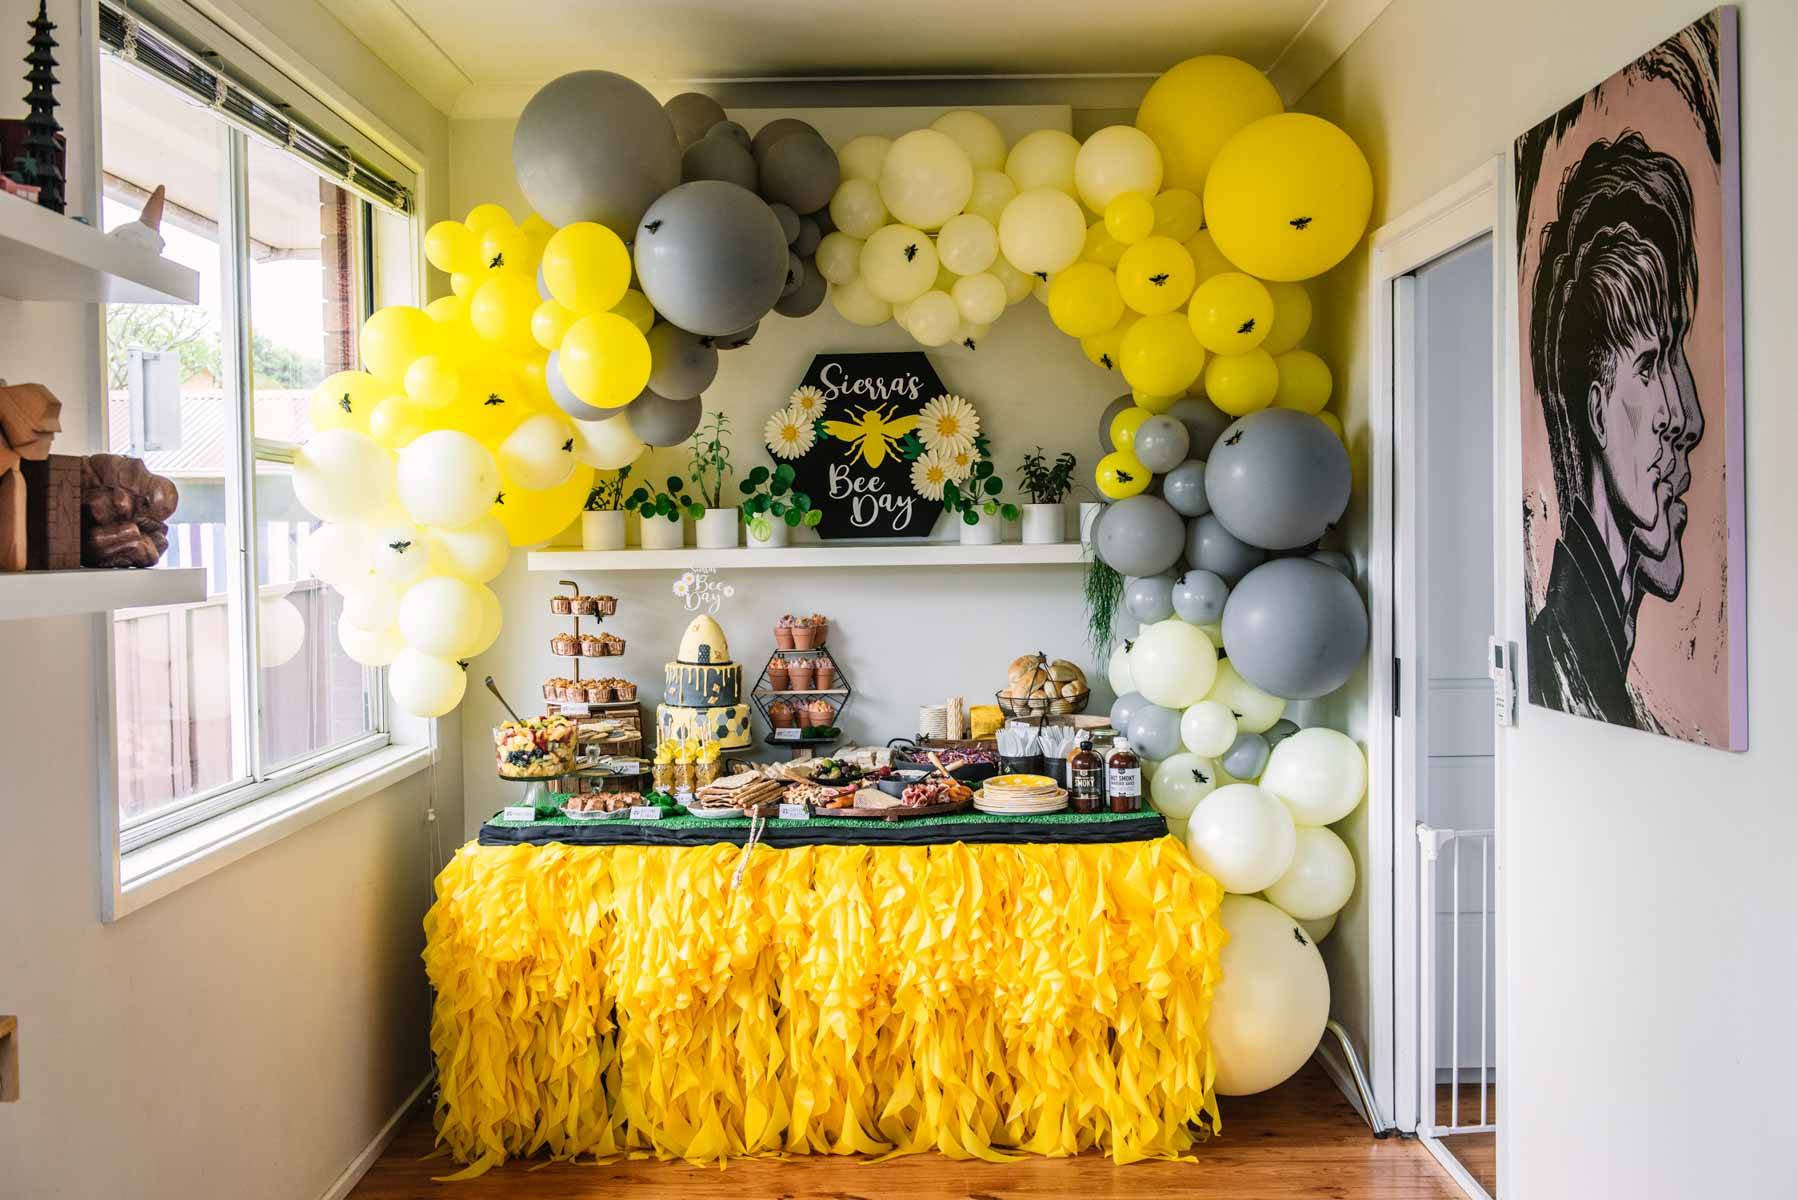
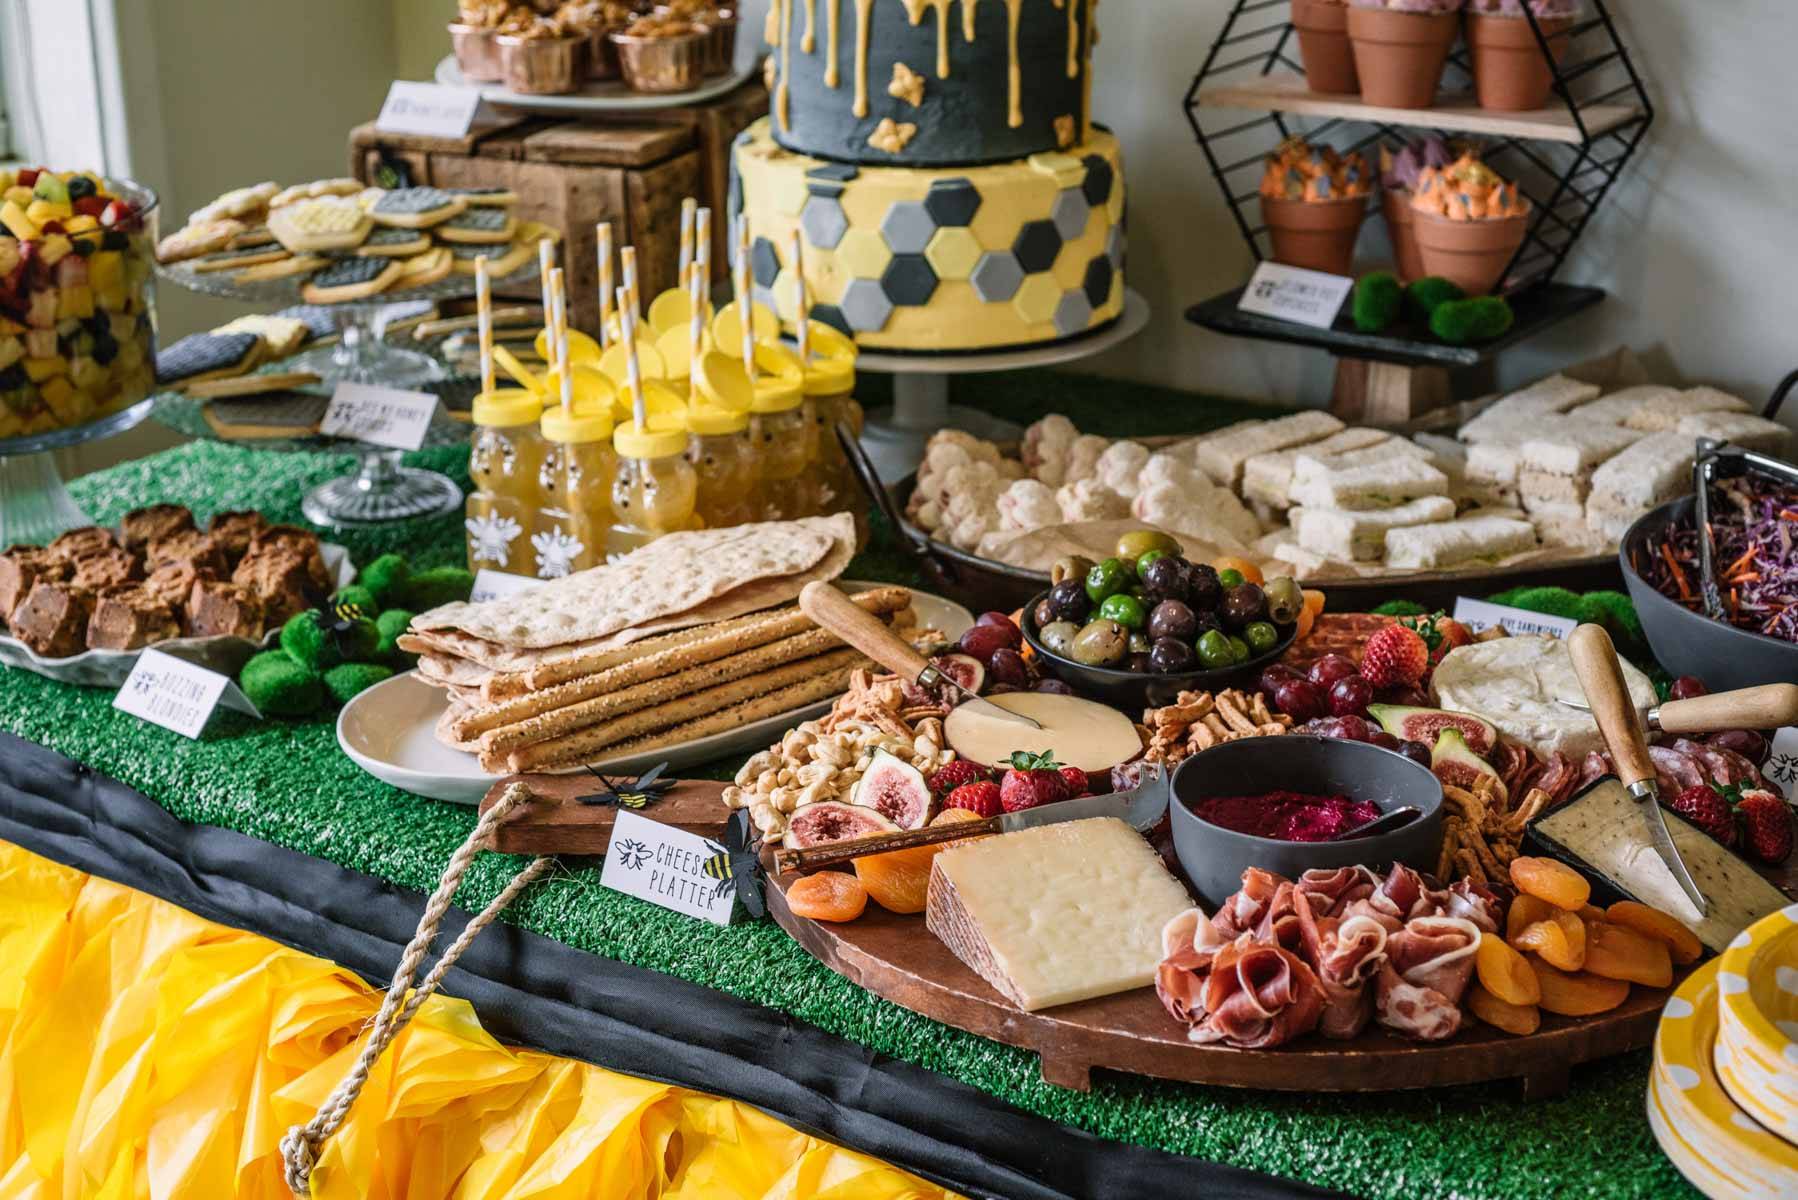
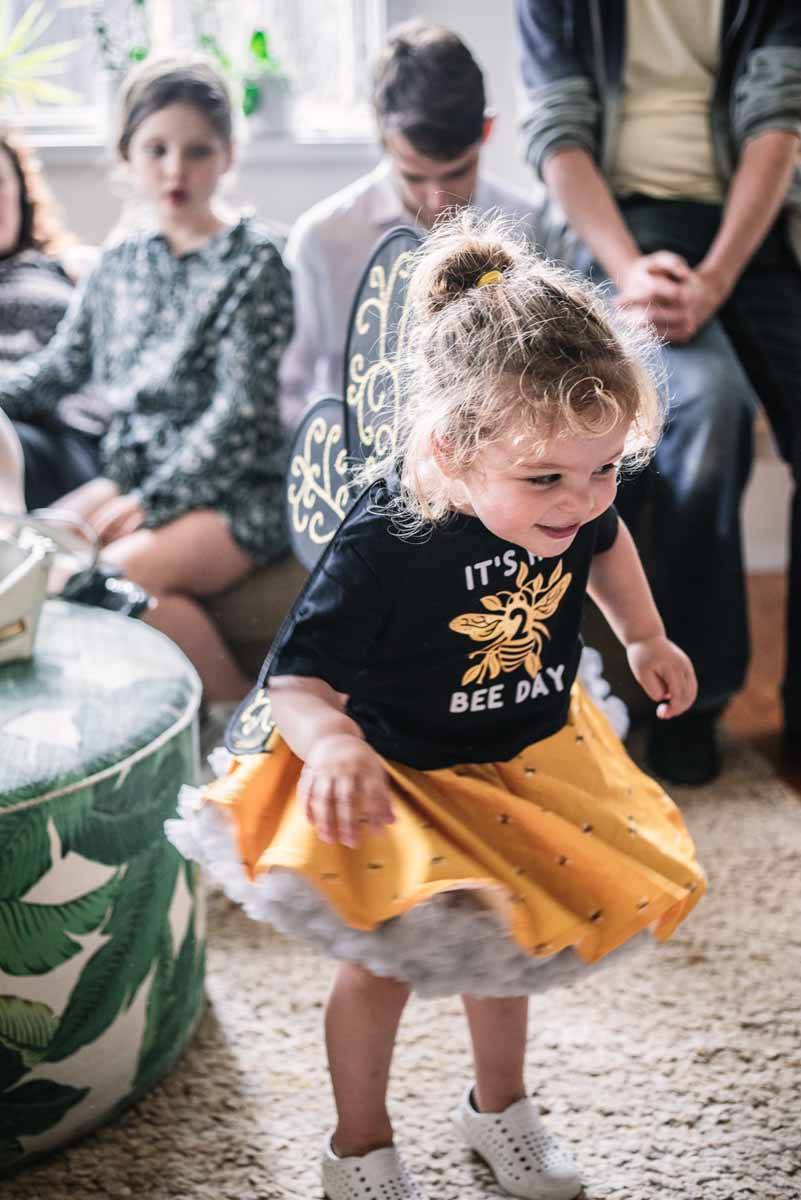
I love to throw a good party. It must link back to my days at Opera Australia running large scale events for our major sponsors. While I’m glad that I no longer have to work those kind of hours and spend months planning events for 30,000 people, a can MORE than handle myself when it comes to a little girls second birthday! Our little one turned two a couple of weeks ago and I love a good theme as much as the next person so we threw her a bee themed party. As can be expected, I went overboard with the food and decorations, but it was all made easier with my Cricut Maker. The die cutting machine made what could have been an ordinary second birthday party, into an epic second birthday party.
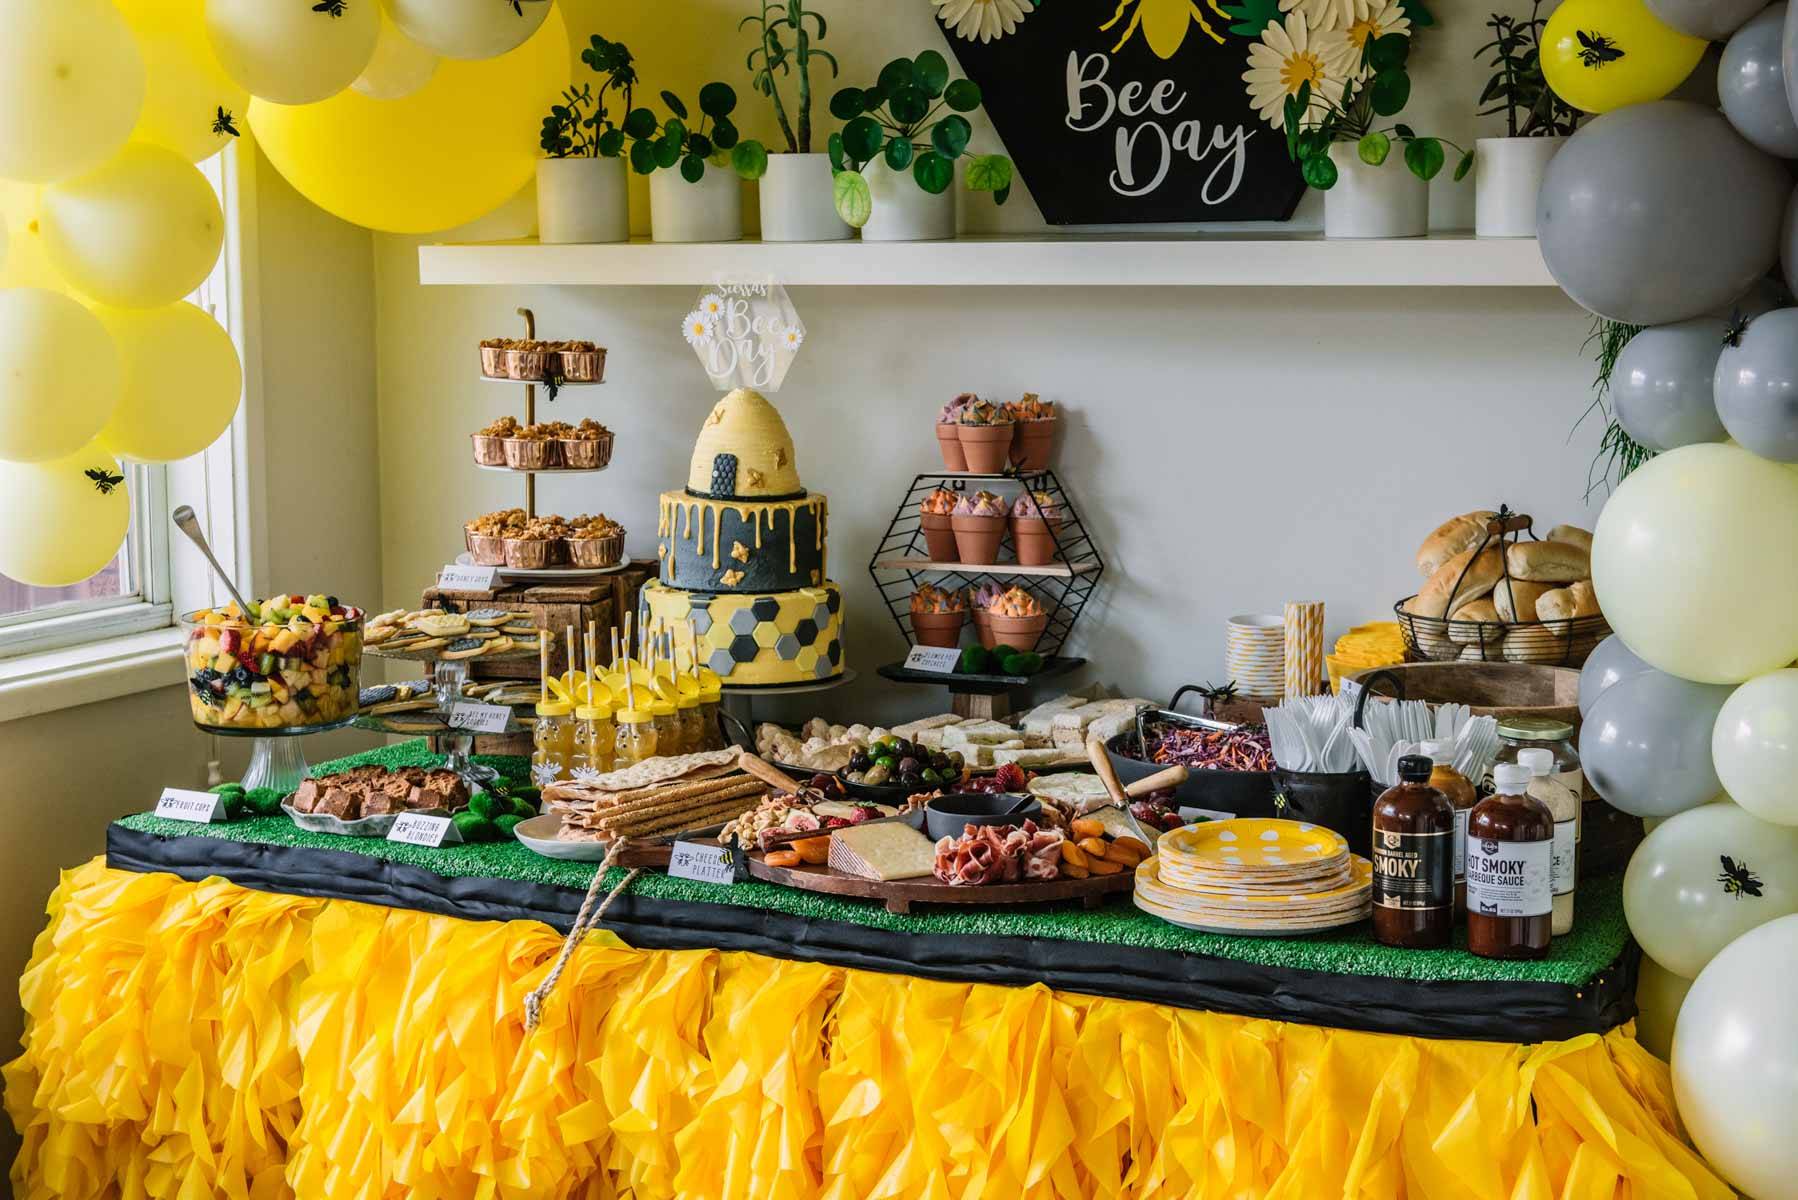
Heres a list of the things I made:
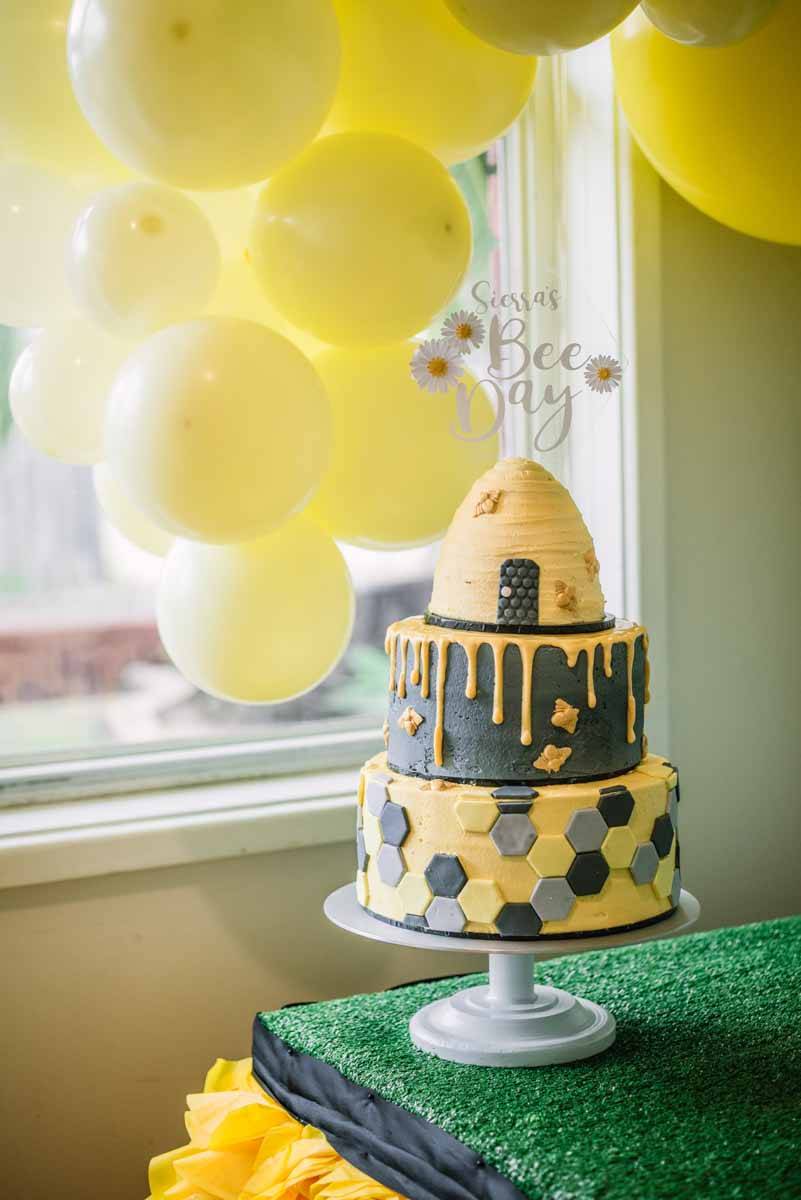
- Three tiered Bee birthday cake with fondant hexagons, white chocolate drizzle fondant bees, and buttercream covered hive.
- Vinyl and paper flower hexagon acrylic topper – made with Cricut Maker
- Yellow ruffle table skirt using a large roll of yellow plastic tablecloth
- Hexagon Bee Day sign using paint, adhesive vinyl and paper flowers – made with Cricut Maker
- Large balloon arch following the amazing balloon arch tutorials from Anastasia Onishchenko on youtube
- 3D black and yellow paper bees stuck all over balloon arch – made with Cricut Maker
- Paper food labels – made with Cricut Maker
- Vinyl bee labels for kids drink bottles – made with Cricut Maker
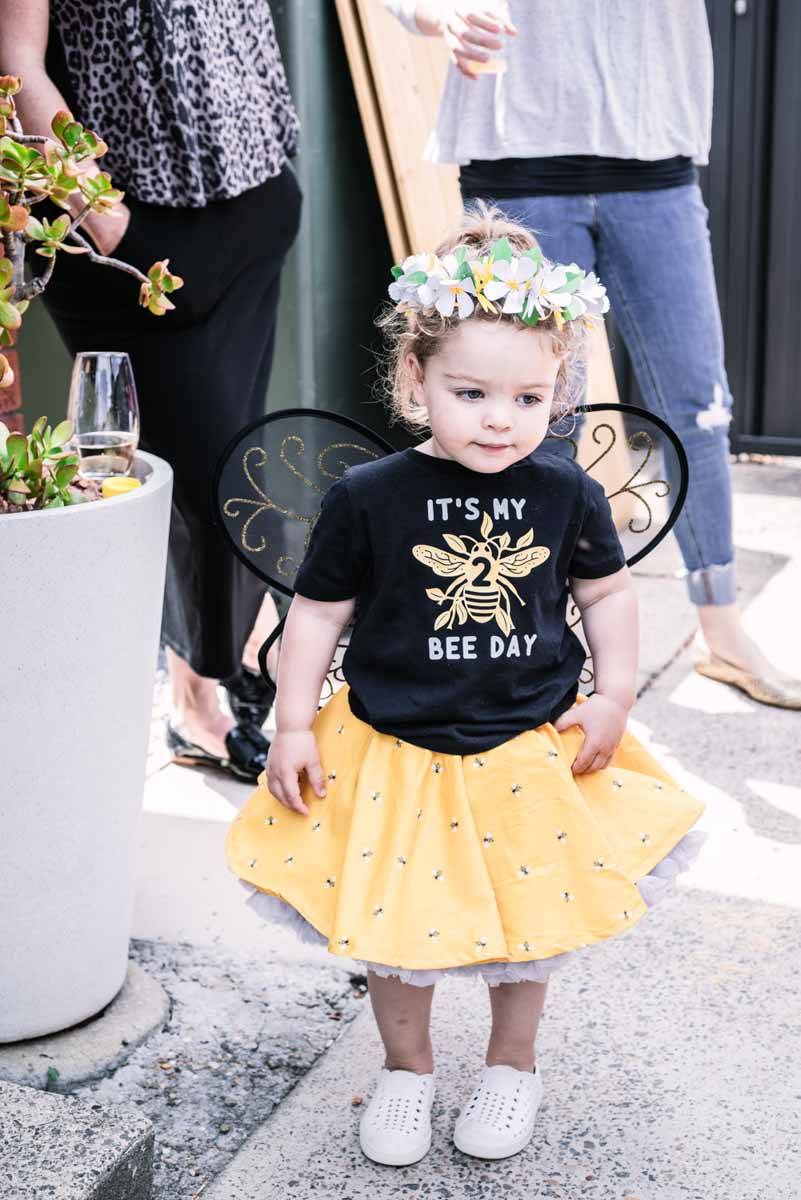
- Birthday T-shirt – made with Cricut Maker
- Paper flower crown – made with Cricut Maker
- Bumble bee circle skirt using cute bee fabric from Spotlight
This is really designed to give you an idea of the great things that you can do with a Cricut machine. I am planning to use the machine to create a spectacular looking cake in the coming weeks where I will outline the exact steps to use the machine. In the meantime if you have any questions at all feel free to get in touch. Recently, I have also started a Cricut related instagram called Cricut Cult should you want to learn more about the non-food related items I have been making.
Chew Town was not paid to develop this recipe, but was gifted some craft supplies from Cricut with thanks. To read Chew Town’s disclosure policy please visit the About page. I have purchased and have been a personal user of Cricut for over a year without any compensation and am glad to be able to include the Cricut Maker in my food photography and styling given how dynamic the machine is.

